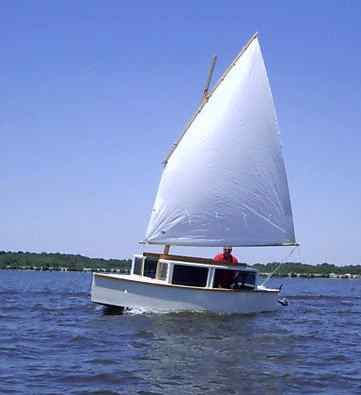
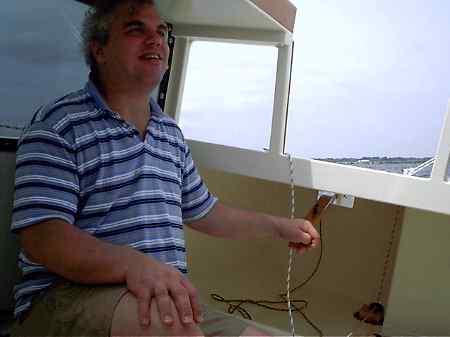
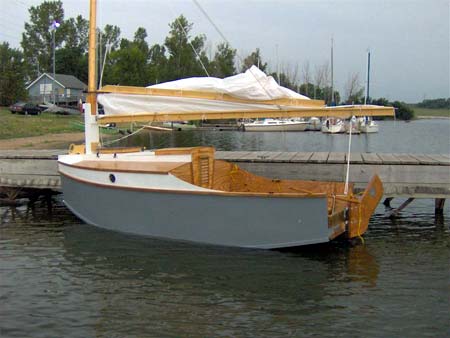
Chris Feller takes his Philsboat prototype out for a spin at the 2007 Rend Lake Messabout.
Contents:
Contact info:
Jim Michalak
118 E Randall,
Lebanon, IL 62254Send $1 for info on 20 boats.
Jim Michalak's Boat Designs
118 E Randall, Lebanon, IL 62254
A page of boat designs and essays.
(1jul07) This issue will rerun the rowboat setup article. The 15 July issue will look a bit into the shape of hulls.
THE BOOK IS OUT!
BOATBUILDING FOR BEGINNERS (AND BEYOND)
is out now, written by me and edited by Garth Battista of Breakaway Books. You might find it at your bookstore. If not check it out at the....ON LINE CATALOG OF MY PLANS...
...which can now be found at Duckworks Magazine. You order with a shopping cart set up and pay with credit cards or by Paypal. Then Duckworks sends me an email about the order and then I send the plans right from me to you.

|
Left:
Chris Feller takes his Philsboat prototype out for a spin at the 2007 Rend Lake Messabout.
|
|
|
ROWBOAT SETUP
I've been showing photos of Max Wawzyniak's Oracle prototype for the past few month. The project was done a while back but we were frozen in until about the first week of March. Then it all burst out then and we had a day in the 70'sF and it was time to launch. That particular day the wind was gusting to 30 and no testing was going to get done but it was a good day to take photos and also to set the boat up in the way I like to see it done.
We went to Washington County lake here in Illinois which is about a mile long and with many arms, steep hills around and a shallow launch ramp in a protected area. A very nice rowing lake.
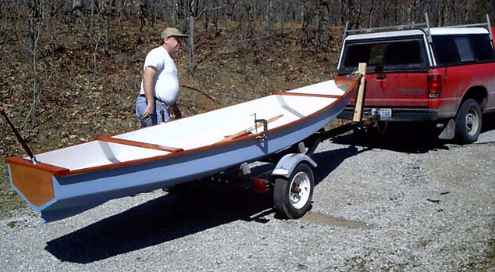
The first thing I must say to those who are finishing a new rowing boat is to not install the rowlocks in the shop! I usually show a rowlock location on the drawing but that is just my best guess at the time I drew the boat. If you have a little patience you can get it just right the first time by following this essay.
Max unloaded his new Oracle and showed me his gear. He had made a low rowing seat, 3-1/2" high, and had some nice 8' oars. The seat looks low but you will usually have a cushion on top and this is a low sided boat. This seat turned out to be just right for Oracle.

Next the boat was placed in the water tied loosely to the dock. Max climbed in and we looked for the seating position that would provided a level boat.
Here he is too far forward and you can see that the bow is down and the stern is up. I might add that it really takes two people to get this just right - one to be the skipper, and another to watch for the correct trim since seeing the trim from inside the boat can be difficult.
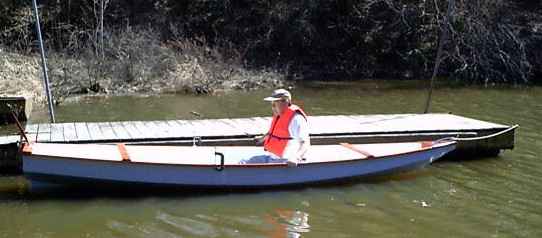
Here he is too far aft. The bow is up and the stern is down:
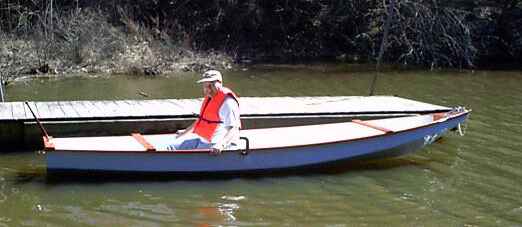
Here he is with his weight located properly for a level boat. At this time he marked the seat location on the bottom of the boat so he could easily repeat the location in the future.

Sitting in the properly trimmed boat Max holds the oars comfortably and notes where they cross the wale.
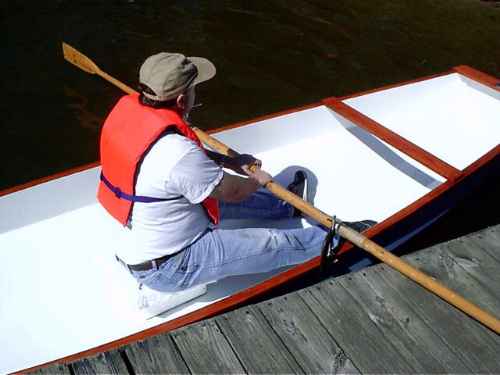
At those points he places a large C clamp in position to simulate the rowlocks.

Now for a test row using those C clamps as thole pins. If the clamps are large enough you might pass the oar through the opening or you might tie the oars to the clamps. In this case Max was just careful to keep the oars against the clamps.

At this point you can shift things around. Once you find the best place for the oarlocks, note the position and install the lock sockets. In this case Max used common sockets mounted outside the wale. He screwed them into position for now, to replace the screws with small bolts in the future. (Screws have a bad habit of working loose at the worst time.) Sockets mounted outside the wale instead of inside? They function a lot better outside with no chafing on the wale but if you are using the boat as a tender then inside the wale might be better because there will be no metal to gouge the mothership.
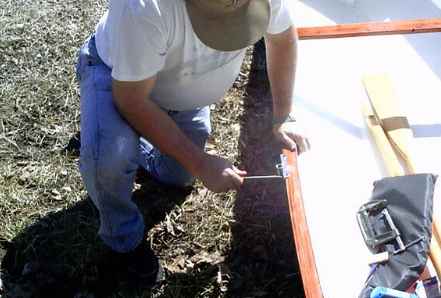
Not quite done yet. A good rowing setup will also have cleats inside the hull against which you can brace your feet. It's not a big deal in calm conditions but for rowing hard, and in some conditions all rowing will be hard, the cleats will make a huge difference in the amount of force you can deliver to the oar.
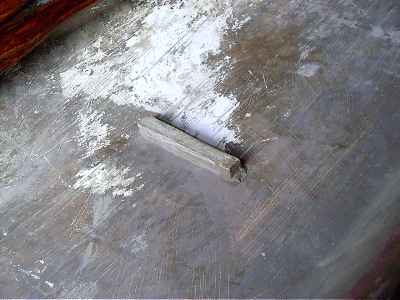
Max didn't install his on his test day but the cleats can be about 3/4" square and 6" long and mounted in a comfortable position. Many rowing boats will have several cleats spaced maybe 3" apart to allow for different sizes of oarsmen. Here is a photo of the cleat in my old Roar2. It was meant to be a temporary fit and was plopped in place with a blob of Bondo. Still temporary after 12 years!
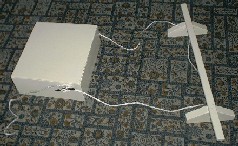
Perhaps just as good as a cleat is the arrangement that Rob Rohde-Szudy made for his Piccup Pram with a rope loop to the seat that captures a bracing bar that rests on the floor of the boat:
NEXT TIME: We'll look at the effect of sweeping up a stern on a jonboat hull.
Philsboat
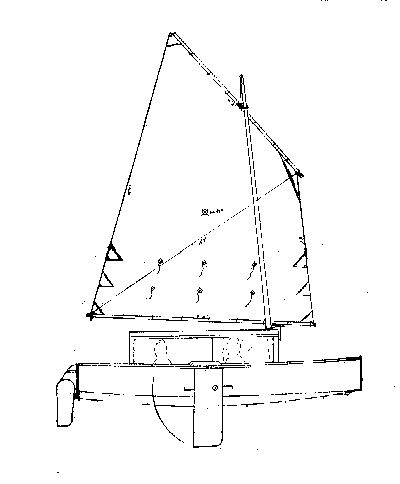
PHILSBOAT, SAILBOAT, 15' X 5.5', 550 POUNDS EMPTY
Philsboat is essentially an IMB with the nose extended to a pointy bow. The width and multichine configuration are the same as IMB's. The cabin is 3" deeper because Phil is at least 3" taller than most of us. In a boat with a Birdwatcher cabin like this one added depth to the cabin makes it safer in that the righting forces in a knockdown are greater. That would be true of any boat if the center of gravity did not move with the cabin roof but with the normal cruiser adding depth to the cabin also means raising the crew deck up so the folks can see over the raised cabin. And that means the CG is elevated too, and then all bets are off concerning self righting. But with a boat like Philsboat eveyone rides down low inside looking out through the windows.
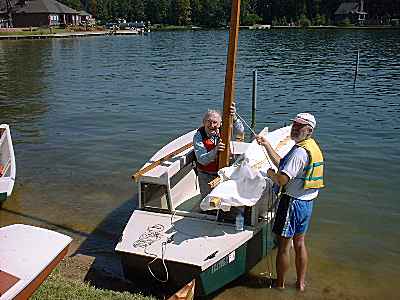
Here is a photo of Bob Williams' IMB:
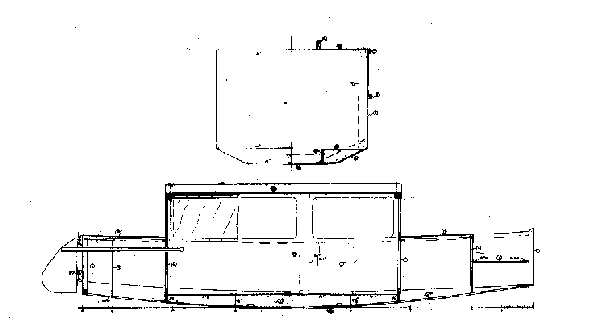
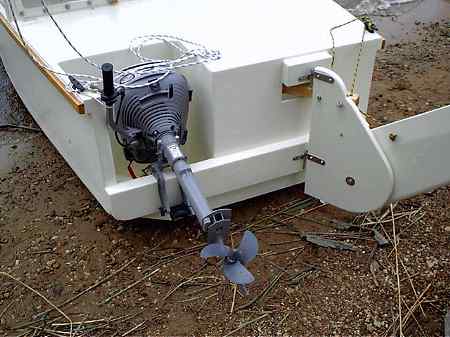
In addition to the pointy bow and added headroom I added what I hope is a serious motor mount. Probably 3hp will drive it as fast as it will ever go and that at part throttle. But the motor well gets to looking pretty large even for such a small motor. For one thing it must be deep to put a short shaft motor on a deep stern like this so I ran it straight down to the boat's bottom. Working on the motor down it its well will be about impossible and you might need to keep an eye on your knuckles when you pull the starting rope. And the well must be surprisingly wide to allow the motor to swivel in steering although the usual case here will be to keep the motor locked straight ahead and steer with the tiller. The wide well pushed the rudder off center and you need a crooked tiller or rudder linkage to make it all work. I opted for a simple but crooked tiller.
I also added low seats like those I saw added to the two IMB's that came to the Lake Conroe Messabout. Pretty much the same as what I have in Scram Pram where the seats do double duty as water ballast tanks. Philsboat seats could easily be converted into water ballast tanks also but the IMB capsize tests imply the ballast isn't needed.
The sail rig uses a balanced lug, 113 square feet and the same as that of a Bolger Windsprint.
Philsboat uses taped seam construction. Five sheets of 1/4" plywood, five sheets of 3/8" and three sheets of 1/2" plywood.
Actually the size and material list for Philsboat are about the same as that of Scram Pram. So which boat would be better? Take Philsboat if you are a pointy bow guy. It should be better in really rough water. On the other hand Scram is wider and roomier. It has a flat step through bow that will splash and spit in rough water but makes beaching a very nice experience.
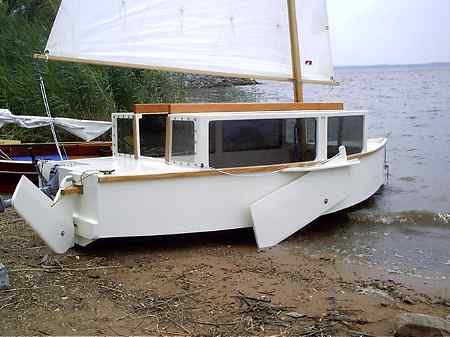
Update, 2007. Chris Feller completed his Philsboat, probably the first prototype completed, and brought it to the 2007 Rend Lake Messabout. Very well made and to plans except he used the 91 sq ft lugsail he had on hand for his AF3, with some mast rake changes he calculated with his "sail area math". Sailed correctly rigtht off the drawing board, so to speak. We had a chance to use it for a few really nice days. In a good sailing breeze, say 10 to 15 knots with occasional whitecaps, our gps bobbed between 5.5 and 6mph for two hours of reaching as we crossed back and forth on the big lake. When I used the Philsboat I thought it was probably just as easy to enter from a beach as the blunt bowed Scram. The front deck is about 2' high so you can sit on it and swing you legs around onto the deck and then into the cabin.

Chris is a big boy but there was plenty of room inside for the two of us and more. Rumor has it that at the campsite the night before Chris slept in the Philsboat on the trailer with an airconditioner in the front hatch plugged into the campsite power. So the boat is plenty big in the way most people would use it.
The stern layout has the motor in a small well to one side and the rudder offset to the other side to give the motor room to swing. There is no linkage to the tiller, the tiller is simply "unstraight" so that is falls on centerline at the skipper's hand. Seems to work well and is quite simple. Chris uses a 2hp Honda which is has a fairly large cowling for its size and must be rotated 180 degrees to grab reverse. He said the motor well size is a bit too small for that. Karl James had the same problem with his Jewelbox a long time ago and simply cut away the side of the hull in top of the motor well region - after all it is just there for looks. Chris said he tried the boat under power and found it went 6 mph max, just like under sail. No surprize to me. My Birdwatcher also maxes out at 6mph under 3hp and under 5.5 hp. This sort of hull will only go so fast. Add more power and you just dig a deeper hole and make a bigger wake - you won't go faster. But sometimes more power is nice on a windy day.
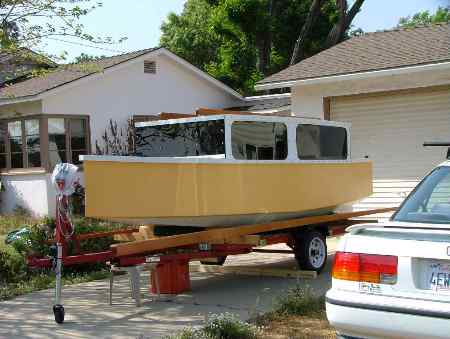
You might recall from the Prototypes section recently that there was another Philsboat being built in California. That one last I heard was about to be launched. Has more changes from blueprint than Chris's boat but still is pretty true to form. Seems to be known as Bumble and made by Rex Meach. Waiting to get launched.
Plans for Philsboat are $45.
Prototype News
Some of you may know that in addition to the one buck catalog which now contains 20 "done" boats, I offer another catalog of 20 unbuilt prototypes. The buck catalog has on its last page a list and brief description of the boats currently in the Catalog of Prototypes. That catalog also contains some articles that I wrote for Messing About In Boats and Boatbuilder magazines. The Catalog of Prototypes costs $3. The both together amount to 50 pages for $4, an offer you may have seen in Woodenboat ads. Payment must be in US funds. The banks here won't accept anything else. (I've got a little stash of foreign currency that I can admire but not spend.) I'm way too small for credit cards.
I think David Hahn's Out West Picara is the winner of the Picara race. Shown here on its first sail except there was no wind. Hopefully more later. (Not sure if a polytarp sail is suitable for a boat this heavy.
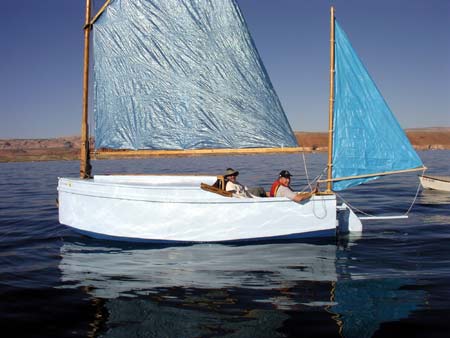
Here is a Musicbox2 I heard about through the grapevine.
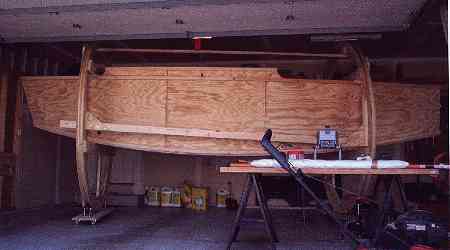
HOLY COW! A Jukebox2 takes shape in Minnesota. Unheated shop means no work during the winter. Check out that building rig!
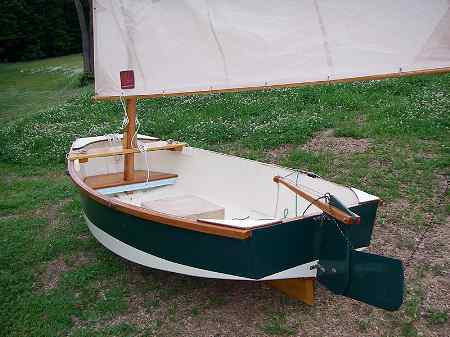
And the Vole in New York is Garth Batista's of www.breakawaybooks.com, printer of my book and Max's book and many other fine sports books. Boat is done, awaits water. Beautiful job!
AN INDEX OF PAST ISSUES
Hullforms Download (archived copy)
Plyboats Demo Download (archived copy)
Brokeboats (archived copy)
Brian builds Roar2 (archived copy)
Herb builds AF3 (archived copy)
Herb builds RB42 (archived copy)