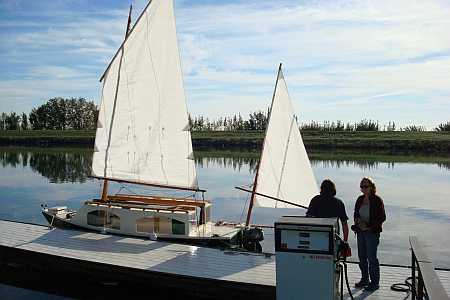
Sharon and Michael Shrum cruising their new customized Caroline on the Sacramento Delta. No wind for those nice sails so time to gas up.
Contents:
Contact info:
Jim Michalak
118 E Randall,
Lebanon, IL 62254Send $1 for info on 20 boats.
Jim Michalak's Boat Designs
118 E Randall, Lebanon, IL 62254
A page of boat designs and essays.
(1Nov09)This issue will take another look at ballast requirements. The 15 November issue will complete the topic.
THE BOOK IS OUT!
BOATBUILDING FOR BEGINNERS (AND BEYOND)
is out now, written by me and edited by Garth Battista of Breakaway Books. You might find it at your bookstore. If not check it out at the....ON LINE CATALOG OF MY PLANS...
...which can now be found at Duckworks Magazine. You order with a shopping cart set up and pay with credit cards or by Paypal. Then Duckworks sends me an email about the order and then I send the plans right from me to you.
Ballast Again
I got to thinking about ballast again when I got an order for a small cruiser design. This was the sort of thing that would be about the size of a Micro but without the keel and with a Toto shaped hull underwater to smooth out rough waves.
I'VE NEVER DONE ONE OF THESE...
... in the past because I found them for all practical purposes "impossible". I'd tried it several times but here was the basic problem. You start with a 15' long hull and put two or three adults on it, sitting on a watertight deck two feet above the bottom. Let's say you figure 600 pounds for the crew and another 600 pounds for the basic boat and the usual sailrig. When you try to balance the thing to selfright from a 90 degree knockdown you need another 500 or 600 pounds of ballast in the belly and your little boat is approaching a ton in loaded displacement. Now, a 15' hull will have to float quite deep to float that much weight. Micro got away with it with about 450 pounds of lead in a keel about a foot below the boat's bottom, plus a 6' beam with hard chines, a totally flat bottom. When I think back about Micro I feel Phil Bolger must have gone down the dead end road a few times like I did with trying to get the little cruiser to do the job without strange proportions or a down low keel. But in the end he made it work in about the only way it could and it is a fine boat.
But this customer wanted no deep keel and no hard chines or pram bow. He was experienced with both and is indeed a very experienced builder and boat user. What changed the equation was that the boat was essentially to be a solo cruiser.
And we could, he said, cheat a bit on self righting. In particular it did not need to be self righting with the crew on board. If it got knocked down the skipper and crew would have to go for a swim, the boat thus lightened of a burden on high would self right by itself and the crew would need to climb back in. So the crew must be prepared in that way. The skipper said that was to him preferable to hauling around a lot of ballast. I would not advise a beginner to take on such a boat but I felt this man understands the trade off. So the boat would have enough ballast to self right with no crew on board and that would be enough.
I traded a few sketches and we settled on this to start:
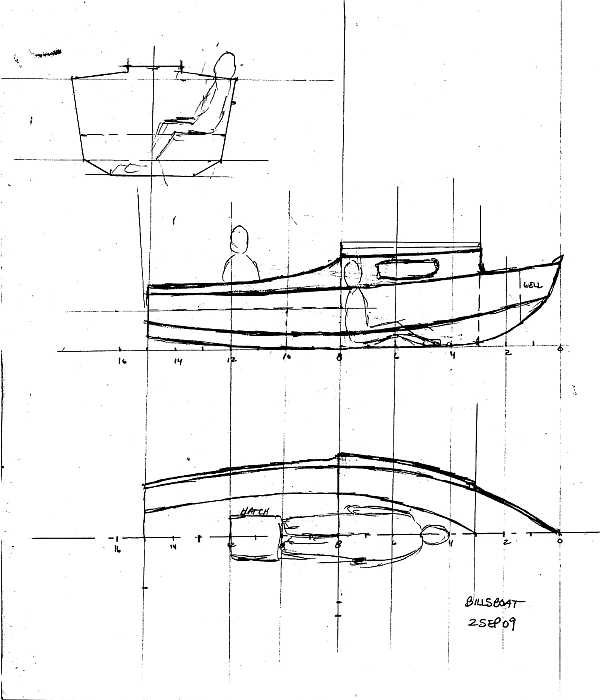
Note the shape and the small bottom. There is only enough floor space to sleep one, right on centerline with his pillow in the V of the bow and his feet passing through the main bulkhead and under the aft deck, Micro style. But I was careful to make the aft deck long enough for sleeping. He wanted flared sides for looks mostly I think. Flared sides make a boat harder to design and harder to build but I suppose you only do that once and then you can admire it more for a long time. In practice I think it makes a boat more comfortable and also gives it wider shoulders in a knockdown. I'm sure Bolger would say something like," If you think giving it flare to make the top wider is good, then even better yet to make it wider all the way down with plumb sides." But this one is flared.
Even at this early stage you can make a quick hack at weight and displacement. For weight I would expect something like 600 pounds of hull and rig, maybe 200 pounds of ballast, for 800 pounds on the trailer stripped. Add a motor and some gear and maybe you have an even 1000 ready to sail. Add 200 pounds for a skipper and she sails away at 1200 pounds. For a rare excursion maybe two passengers add another 400 pounds so you have a max of 1600 pounds to float.
Now the idea is to have that hull make a hole in the water (imagine a clear plastic hull pushed down into the water) such that the volume of water displaced by the hole weighs 1600 pounds. This was to be a 15' boat but it will probably have a waterline closer to 13'. then the fattest part of the hull is 5.5' wide at a point 9" above the bottom, tapering to 3' wide at the bottom. So that part of the hull has an area of .75x(5.5+3)x.5=3.2 sq ft. Now, a "prism" with that shape and length would have a volume of 3.2x13=42 cu ft. Experience has shown that a hull with ends shaped like this will have a "prismatic coefficient" of about .55, so this new boat should have a displacement volume of 42x.55=23 cu ft of water when immersed 9" deep. Water weighs about 63 pounds per cubic feet so she will displace about 23x63=1450 pounds of water and we are pretty close to our goal. Actually I do this sort of numbers juggling very early on, right at the first sketch level.
AT THIS POINT...
I do a "lines" drawing and I take "offsets" a regular points, enough so that I can define the shape in numbers. I use those numbers to make a model with Hullforms, a free hydrostatics program you can download with the link shown in the links section of this website. Here is the Hullform model:
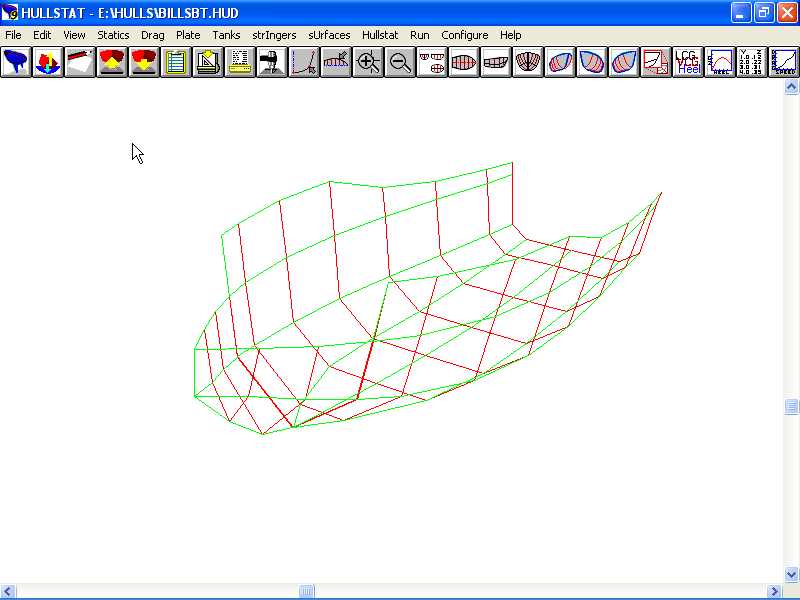
Hullform is a really smart program. I have no idea how it works but it works very quickly on any computer and I've never caught it trying to tell me a lie. So it tells me that this shape will displace 700 pounds at 5.7" draft, 1000 pounds at 7", 1200 pounds at 8", and 1400 pounds at 9". So my quicky guess was only off by 50 pounds. So the single skipper scene will draw 8" and the party boat scene just over 9". In real life add about 3" to those numbers since we are going to have a center skid with some lead hanging on it.
I am reminded now about why I always gave up on projects like this. If you wanted full knockdown recovery with a crew of say three you might need another 300 pounds of ballast, or more, and the weight just gets out of hand for such a short boat.
NOW BACK TO HULLFORM...
Hullforms will do a lot more than just give you displacement and different drafts. You can flip your model on its side. If you know the weight and cg location it will tell you if your boat will right from different angles of roll. A calculation like this is very very tedious to do by hand. So much that it essentially was never done much by hand and it took the computer to help us out.
When I first started doing these it was clear that the Hullform model has to be modified to give meaningful results since the cockpit will flood long before the hull is rolled sideways and then you have a different shape displacing water. Instead of high sides aft you will have just the low raised deck to float her there. So I modify the model to look like this:
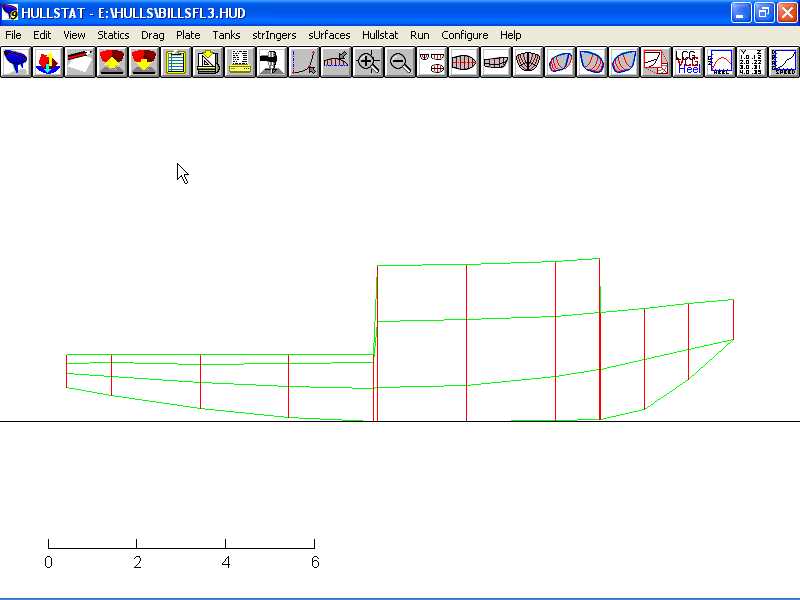
With the newer versions of Hullform you can get a curve printed out of righting moment along a range of roll angles. But you have to tell it the weight and cg information and you have to figure that yourself and it ain't always easy. At this stage what you can do is put in our guess at the weight and run the program at 90 degrees of roll using various cg locations and find the cg location that gives a zero righting moment. If we can keep the cg below that point she will self right. Doing that, the winning cg location for this hull is ...(drum roll please)...19.0" above the hull bottom.
SO, HOW MUCH DO YOU WEIGH, ANYWAY????
....Well, I'm not going to get into that just now. I've decided to conclude this essay next issue in order to give a blowbyblow account of a weight and cg guestimation. So you've got two weeks to shape up because I will have to ask. But in the meantime...
HOW ABOUT A CARD MODEL...
I felt that the design had jelled to the point where it would work for the right skipper and I was going to refuse any more changes. Might as well press on with more details. At this point, with the offsets well defined, (you can actually use Hullform to fine tune your offsets), I dragged out my flat panels spreadsheet that we talked about a long time ago. To review, you imagine each plywood panel in the hull to be made of small triangles. Each offset point defines the common points of joining triangles. Then the spreadsheet uses the xyz of the offsets to determine the true length of each of side of each triangle, thus the true shape of each triangle, then it hooks them all together and spreads them flat to give, you hope, the true flat shape of the original panel so you can lay it out on plywood. I've always called this the Rable Triangle method although I would think that Sam Rable, who published the idea in the 1950's (special thanks to old buddy Dave Carnell for never throwing anything away!) used the method in big shipyards long earlier than that. They probably drew the triangles full sized on steel plates. It won't work with scale hand drafting because little drafting errors throw the final shape way way off. But even my Apple 2 had no trouble doing the math in a flash, hiding the fact that it took me weeks if not months if not years to finally fall into the needed equations.
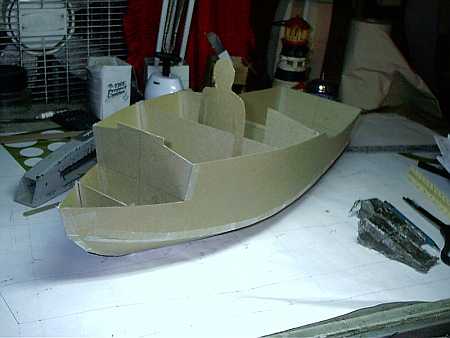
Anyway, I figured the shapes of all the panels in 1/8 scale, made card copies of the panels and taped them together. An important step because if the model don't fit then the real boat don't fit. OK, here are three pics with the decks still off. First bow shot:
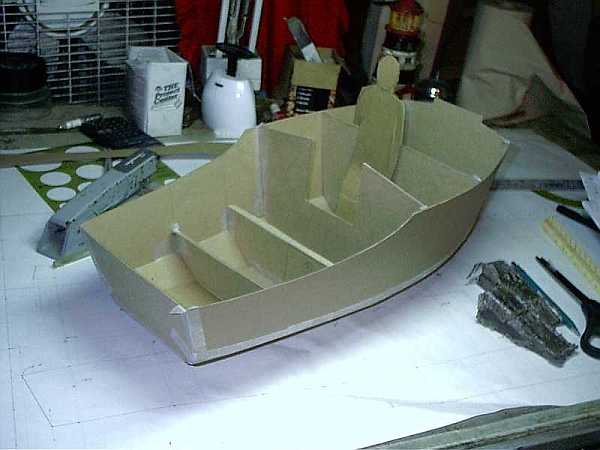
Stern view (there is a "temporary form" in the middle of the cabin and the bulkheads don't have openings under the rear deck yet):
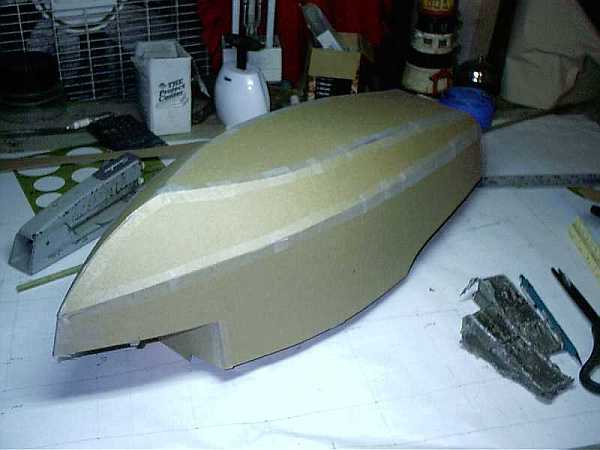
Upside down (note how the fine bow and multichines really eats into the living floor space):
And then with the decks on, from the front:
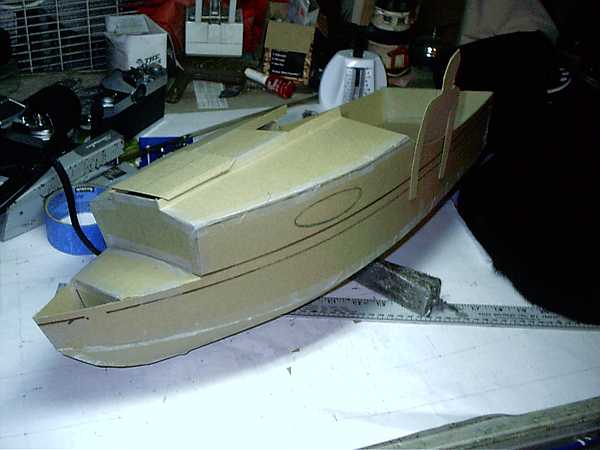
And the stern:
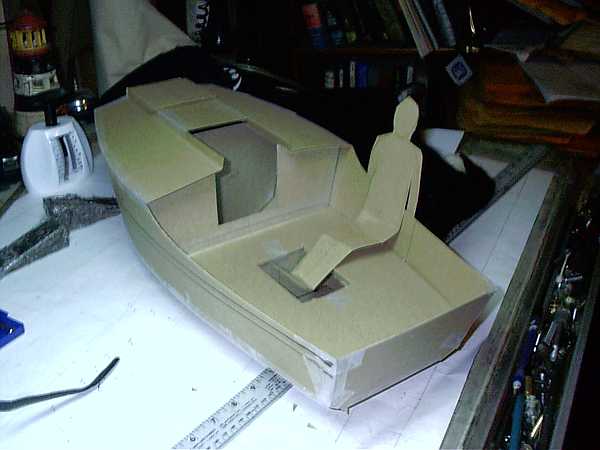
Sort of looks like a boat.....
Piccup Pram
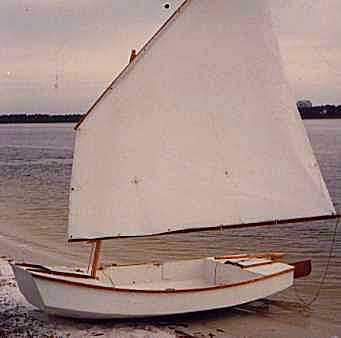
PICCUP PRAM, SAIL/ROW PRAM, 11' X 4.5', 90 POUNDS EMPTY
Piccup Pram was the first boat of my design to get built, back in 1990, I think. I still have the prototype and use it regularly. I designed it to be the best sail/row boat I could put in the back of my short bed pick up truck. But I found it to be a good cartopper, too. It has capacity and abilities I had previously thought impossible in a 90 pound cartopper. The photo above shows the original 55 square foot sail on Pensacola bay a long time ago. Piccup is a taped seam multichine hull which can take a fair amount of rough water.
Piccup continues to be one of my most popular designs and I get nice photos from builders. Here is one of Richard Donovan hoping for more wind up in Massachusetts.
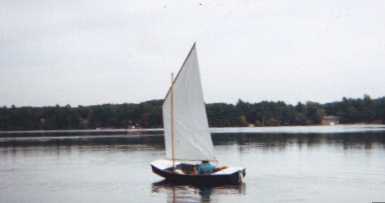
Richard's Piccup has the larger 70 square foot sail that prefer myself. It's the same as the original but is 2' taller. This balanced lug sail sets on a 12' mast and rolls up easily for storage on its 9' yard and boom. The idea was to be able to store the rig easily in the boat during rowing and it works. There is a pivoting leeboard and kickup rudder on the boat and they can be left in place raised while rowing. Converting to full sail takes a couple of minutes as you step the short mast, clip on the halyard and tack lines, hoist the sail, lower the boards, and off you go. And the balanced lug sail reefs very well although reefing any small boat is best done on shore.
Here is a Piccup by Vince Mansolillo in Rhode Island, a nice father/son project. Piccup will be large enough to hold both of them. You can see the large open frameless cockpit, large enough for sleeping. And you see the buoyancy/storage boxes on the end.
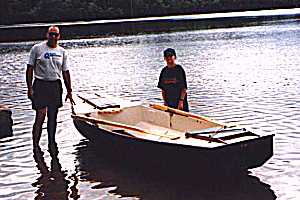
But Piccup will take two adults as seen in the photo of Jim Hudson's boat. Jim's boat has a polytarp sail as does my own Piccup.
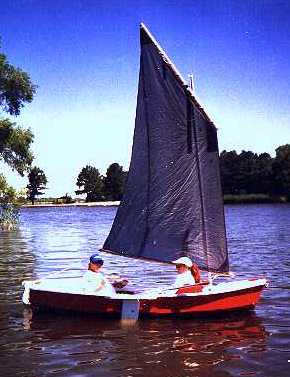
These boats have proven to be good for sail rig tinkerers (be sure to read and apply the Sail Area Math essay before starting). Here I am in Piccup with a polytarp sharpie sprit sail. The rig is different from the originals but the hull here is totally unchanged (except for paint) from the original shown on the beach at Pensacola.
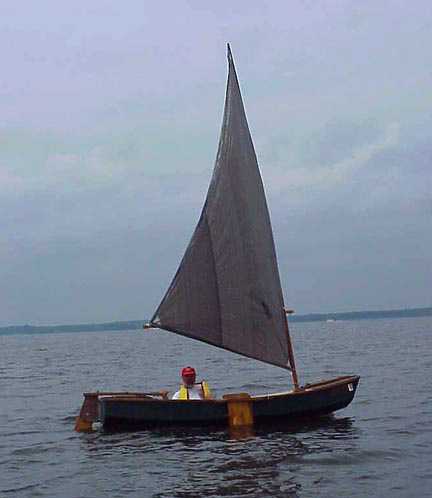
I think my own Piccup has had about six rigs of different sorts and was always the test bed for the polytarp sail experiments. But, hey!, that's nothing compared to the tinkering Reed Smith did with his out in California. Here is his Piccup rigged as a sharpie sprit yawl!
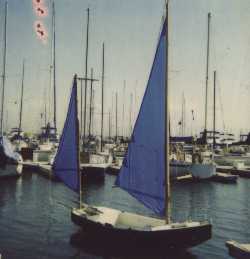
Here is Rob Rhode-Szudy's yawl rig Piccup that was featured in his essays about building Piccup that you can access through the old issue links.
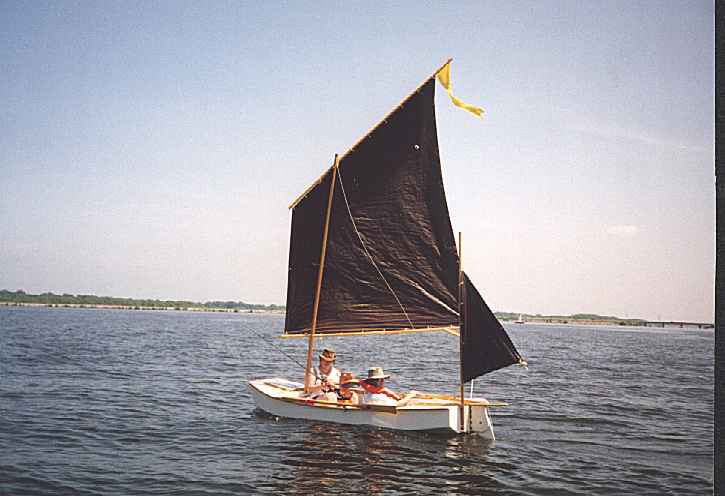
Here is another by Doug Bell:
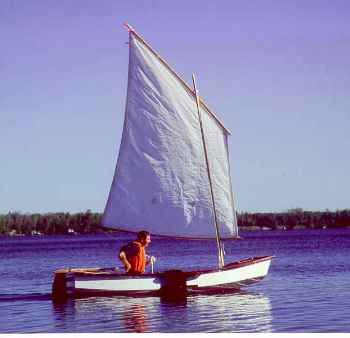
This one is by Jim Islip:
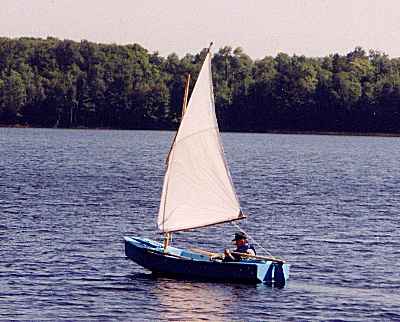
And this one by Ty Homer:
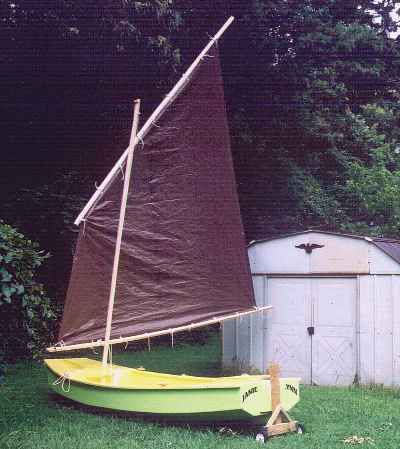
Piccup Pram uses taped seam construction from five sheets of 1/4" plywood.
Plans for Piccup are still $20.
Prototype News
Some of you may know that in addition to the one buck catalog which now contains 20 "done" boats, I offer another catalog of 20 unbuilt prototypes. The buck catalog has on its last page a list and brief description of the boats currently in the Catalog of Prototypes. That catalog also contains some articles that I wrote for Messing About In Boats and Boatbuilder magazines. The Catalog of Prototypes costs $3. The both together amount to 50 pages for $4, an offer you may have seen in Woodenboat ads. Payment must be in US funds. The banks here won't accept anything else. (I've got a little stash of foreign currency that I can admire but not spend.) I'm way too small for credit cards.
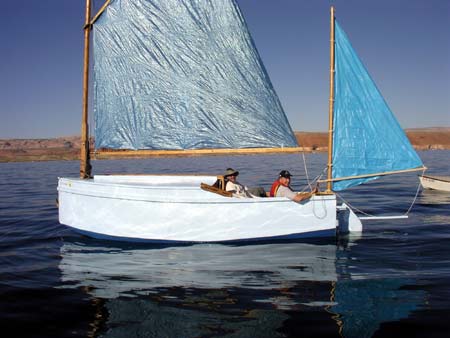
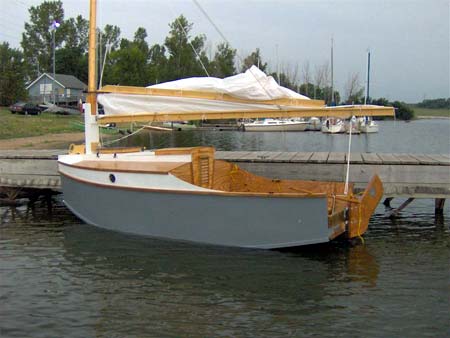
I think David Hahn's Out West Picara is the winner of the Picara race. Shown here on its first sail except there was no wind. Hopefully more later. (Not sure if a polytarp sail is suitable for a boat this heavy.
Here is a Musicbox2 I heard about through the grapevine.
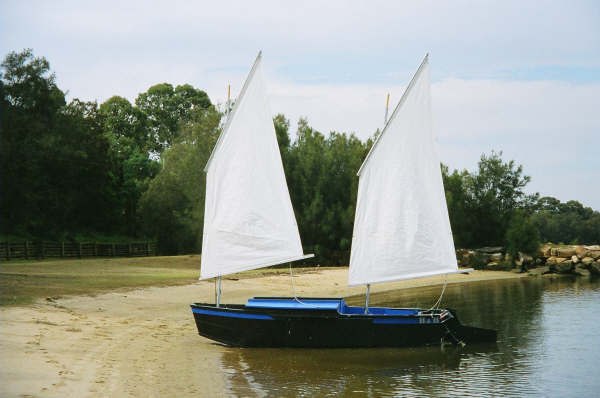
This is Ted Arkey's Jukebox2 down in Sydney. Shown with the "ketchooner" rig, featuring his own polytarp sails, that is shown on the plans. Should have a sailing report soon.
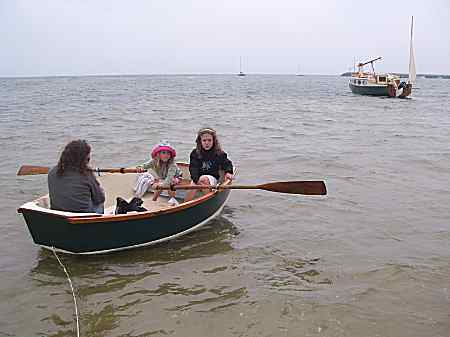
And the Vole in New York is Garth Batista's of www.breakawaybooks.com, printer of my book and Max's book and many other fine sports books. Boat is done, shown here off Cape Cod with mothership Cormorant in background, Garth's girls are one year older. Beautiful job! I think Garth is using a small lug rig for sail, not the sharpie sprit sail shown on the plans, so I will continue to carry the design as a prototype boat.
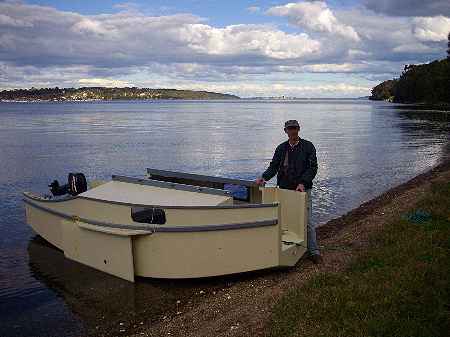
And a new Down Under Blobster is off cruising under outboard power as it waits for its sailrig.
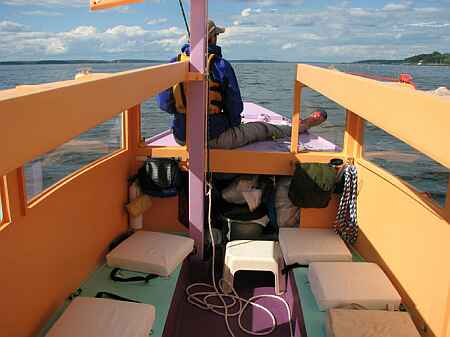
A view of the Caroline prototype showing a lot of the inside, crew on fore deck. Beautiful color:
And here is another making I think its maider voyage in the Texas 200. (I'm told the Chinese rig will be replaced by the blueprint rig.)
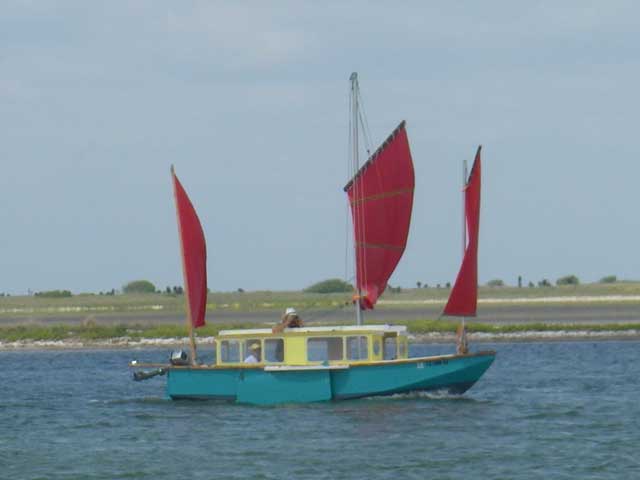
I gotta tell you that on the Caroline bilge panels I made an error in layout and they are about 1" too narrow in places on the prototype plans. I have them corrected but it always pays, even with a proven design, to cut those oversized and check for fit before final cutting.
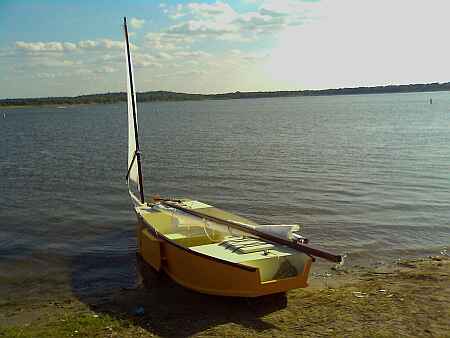
And a Deansbox seen in Texas:
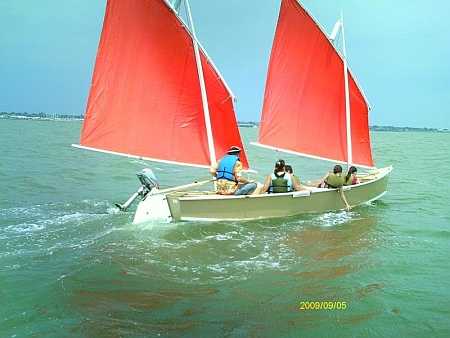
And in Texas Gordo Barcom has completed the first Laguna and I hope to give a full report soon. Here he blasts along on his first flight:
The Leinwebers have ganged up on me to rename the Sandrasboat to RioGrande. And here is a photo of Sandra in her RioGrande on the Rio Grande. We have to sort out some fit problems Chuck reported he had in building but then it will go public. It is essentially a decked Toto.

AN INDEX OF PAST ISSUES
Hullforms Download (archived copy)
Plyboats Demo Download (archived copy)
Brokeboats (archived copy)
Brian builds Roar2 (archived copy)
Herb builds AF3 (archived copy)
Herb builds RB42 (archived copy)