
Caroline Gould's Caroline at the Woodenboat Show.
Contents:
Contact info:
Jim Michalak
118 E Randall,
Lebanon, IL 62254Send $1 for info on 20 boats.
Jim Michalak's Boat Designs
118 E Randall, Lebanon, IL 62254
A page of boat designs and essays.
(1Oct09)This issue will repeat the bevels essay. The 15 October issue will discuss mizzen sails.
THE BOOK IS OUT!
BOATBUILDING FOR BEGINNERS (AND BEYOND)
is out now, written by me and edited by Garth Battista of Breakaway Books. You might find it at your bookstore. If not check it out at the....ON LINE CATALOG OF MY PLANS...
...which can now be found at Duckworks Magazine. You order with a shopping cart set up and pay with credit cards or by Paypal. Then Duckworks sends me an email about the order and then I send the plans right from me to you.

|
Left:
Caroline Gould's Caroline at the Woodenboat Show.
|
|
|
BULKHEAD BEVELS
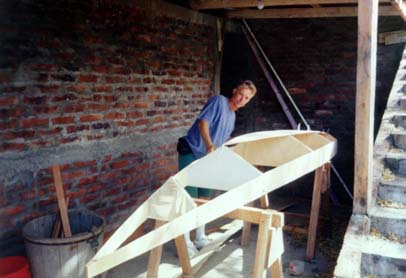
I don't know if there are many topics that cause more confusion to boatbuilders than bevels at bulkheads and transoms. Some slant in and some slant out. Sometimes you can measure them right off the lines drawing but often you can't. To a certain extent the subject has become less important with taped seam construction, but many glue and nail boats are still being built and as you will see, I like to use nail and glue construction in the very early stages of building a taped seam boat because it allows a quick and solid alignment when that is most appreciated, as shown in this photo of Dale Dagger in Nicaragua with a Toto project. At this stage the hull has used conventional construction which required cutting bevels on some of the elements. Dale asked for clarification on one of them.
I did update the Toto drawing to include the full sized bevel drawings shown below. One is for the side edges of bulkhead 10 and the other is for the side edges of the transom.
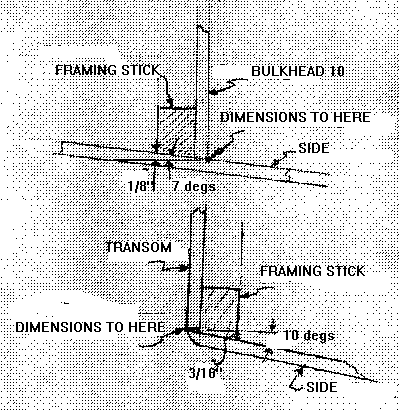
When I figure out the dimensions of the plywood piece that forms the shape of the bulkhead or transom, I take its dimensions off my lines drawing as if the piece had no thickness.
But the real panels do have thickness. So I rig it such that one face of the panel lies on the plane where I took the panel dimensions and mark that face "Dimensions to Here". Now if the side or bottom panels are sweeping in or out from the dimensioned face, then the other face of the bulkhead or transom will need to be smaller or larger than the dimensioned face.
Let's take the case where the adjacent panels are sweeping outward from the dimensioned face. We'll call this one an "outy". The transom bevel on Toto is as outy. The dimensioned face of the Toto transom is on the plane of the end of the boat and the transom's forward face needs to be slightly larger than the dimensioned face to allow for the outward sweep of the side panels, which measures 10 degrees at that point. How much larger? The Toto transom is supposed to be 1/4" plywood with a 3/4" thick framing stick, for a total of 1" thick. So to allow for the 10 degree bevel each side needs to have 1" X tan10 = .176" extra material which is 3/16" to most of us. But when I build one of these outy's myself, I pay no attention to that extra thickness. See the figure below to see how I do it on my own boats.
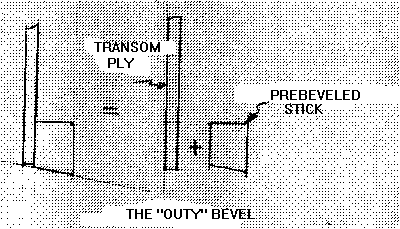
I've found the best tool to cut straight bevels is a table saw. First I cut the side sticks on the table saw to the correct bevel. Then I cut the transom (or bulkhead) panel out of plywood to the dimensions with no bevel, just a square cut. Then I glue and nail the beveled sticks to the plywood piece such that a straight edge along the beveled stick will just kiss the "Dimensions to Here" edge. That's it. I haven't fussed with that "extra material needed" measurement at all. This gives a nice straight edge to the right dimensions and it doesn't really get involved with thicknesses - if you use thicker or thinner wood than specified it will still fit.
"But," you say,"there's a little triangular area on the edge of the plywood that isn't right." True. I fill that with glue when the panel is glued and nailed to the side. That triangle isn't very big. On this 10 degree bevel it would max at .045". No problem. To me the glue there is really a hope of sealing the grain on the edge of the plywood, not a strength issue since a lot of that ply edge will be end grain anyway and about useless for glue strenght.
Now let's talk about the inny. Bulkhead 10 on Toto is an inny. (I suspect the trouble Dale had was that he made this one an outy the first try.) The basic dimensions of bulkhead 10 were taken 10' aft of the bow tip of the boat. That is the actual front face of the bulkhead, the face marked "Dimensions to Here". At that point the sides are sweepin inward 7 degrees as they go aft. This bulkhead is also 1/4" plywood with 3/4" sticks for a total of 1" thick. So the aft face of the bulkhead needs to be 1 X tan7=.12" smaller on each side edge than the front side edges.
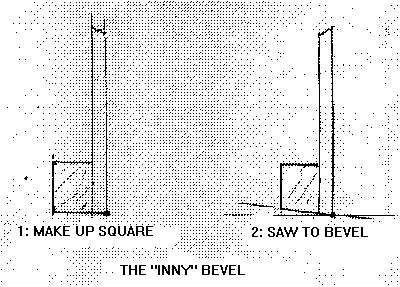
Innys are a little easier to picture. You could make all the edges square to the basic dimensions and then run them through a saw set to the proper bevel to shave off the extra material. I used to do them that way and still do on occasion. The problem I have is that I use a bandsaw for this which doesn't care to cut straight. And a large bulkhead is a beast to run through the saw all at once. You could try a saber saw or circular saw set to the proper bevel if you think you are good enough at it to keep the blade just kissing the edge marked "Dimensions to Here". I' not.
So I've gone to making the inny bulkhead the same way as I make an outy. First I prebevel the framing sticks with a table saw. Then I cut the plywood panel to shape with no bevel, just a square cut. Then I glue and nail the sticks to the sides of the panel. If the bevel is severe I do try to line up the face of the bevel stick with the "Dimensions to Here" edge of the plywood. Then I will have a small triangle of plywood protruding from the beveled face. I can trim that off later. In the case of a small bevel, I don't do that. I just line up the stick with the back edge of the panel. When I assemble it to the sides there will be a little triangle to fill with glue again. And the panel will be slightly wider than what the lines call for. In the case of Toto's bulkhead 10 the error would be .25" X tan7 = .03". Nothing to worry about.
Larsboat

LARSBOAT, DOUBLE PADDLE CANOE, 15.5' X 30", 65 POUNDS EMPTY
Larsboat was built by Lars Hasselgren to replace a Folboat that had finally met its end. Lars wanted capacity for two, plus decking, as with his old boat.
I took Toto and lengthened it with a 30" plug in the middle to gain capacity. But lengthening a hull with a straight plug like this usually improves a boat in almost every way and Larsboat should be faster than Toto in good conditions. In this case the plug meant I didn't have to refigure the shape of the twisted bow panels as I would if I'd lengthened Toto with an overall stretch. (I can figure twisted panels pretty reliably now, but not back when Toto and Larsboat were drawn.)
The decking was quite simple because even the original Toto could take a forward deck of flat sheets with a center peak. I should add that I feel the decking is very optional. This prototype weighs 61 pounds and deleting the deck might cut another 10 pounds or so. The undecked boat also would have a better cartopping shape. I'd keep the stern chamber. It will ease your mind about taking a big wave over the stern.
This would be a preferred project for someonw who intends to do a lot of cruising and camping. In the Toto camping I've done the sleeping room has been OK, but the storage is limited. Larsboat would be better both because of increased capacity and because there is dry storage under the bow deck.
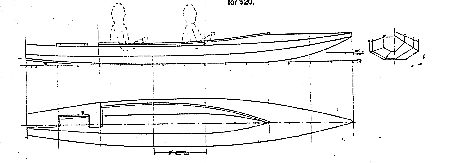
The basic hull is taped seam construction needing four sheets of 1/4" plywood for the decked version and three sheets for the undecked version. No jigs or lofting required. Plans are two blueprints with keyed instructions for $20.
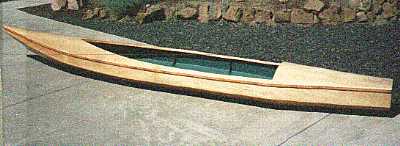
The photo above is of Bob Smithson's Larsboat. He customized the decking a bit. I think he also built the boat of 1/8" ply to save weight. I've forgotten what his boat weighed but he did say it was sufficiently rigid for him.
Bob Hoyle built this one without a deck down in Florida:
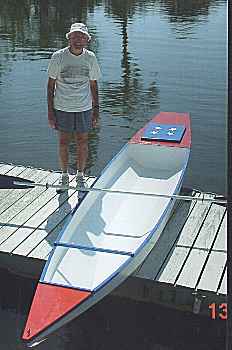
Paul Moffitt built this one. You can see this is a much better two person boat than the shorter Toto:
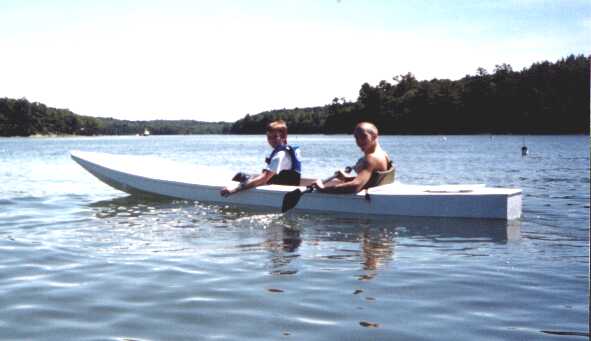
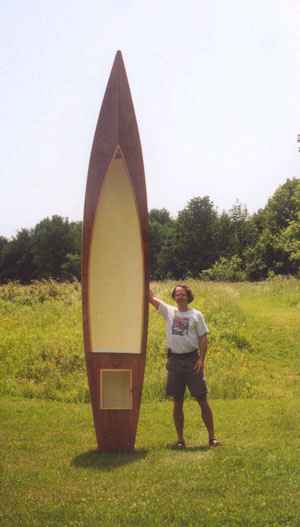
And remember Garth Battista's vertical Larsboat?
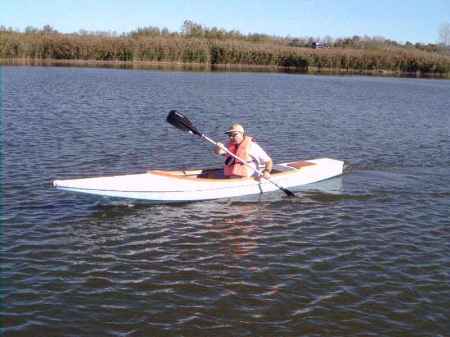
And the old outboard motor guru Max Wawrzniak often goes for a paddle in his Larsboat:
Larsboat plans are $20.
Prototype News
Some of you may know that in addition to the one buck catalog which now contains 20 "done" boats, I offer another catalog of 20 unbuilt prototypes. The buck catalog has on its last page a list and brief description of the boats currently in the Catalog of Prototypes. That catalog also contains some articles that I wrote for Messing About In Boats and Boatbuilder magazines. The Catalog of Prototypes costs $3. The both together amount to 50 pages for $4, an offer you may have seen in Woodenboat ads. Payment must be in US funds. The banks here won't accept anything else. (I've got a little stash of foreign currency that I can admire but not spend.) I'm way too small for credit cards.
I think David Hahn's Out West Picara is the winner of the Picara race. Shown here on its first sail except there was no wind. Hopefully more later. (Not sure if a polytarp sail is suitable for a boat this heavy.
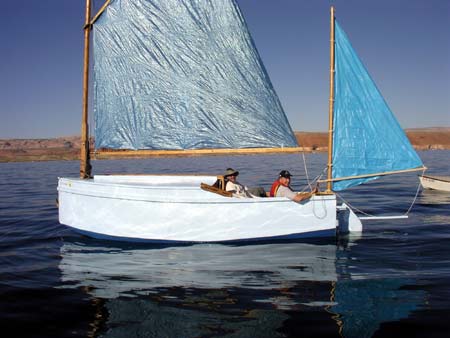
Here is a Musicbox2 I heard about through the grapevine.
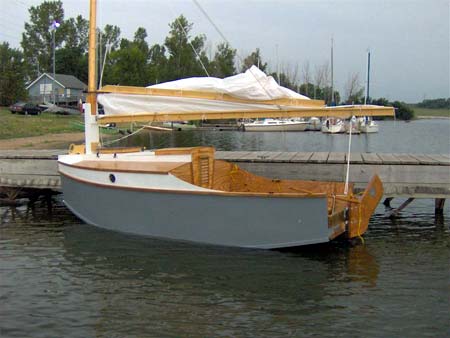
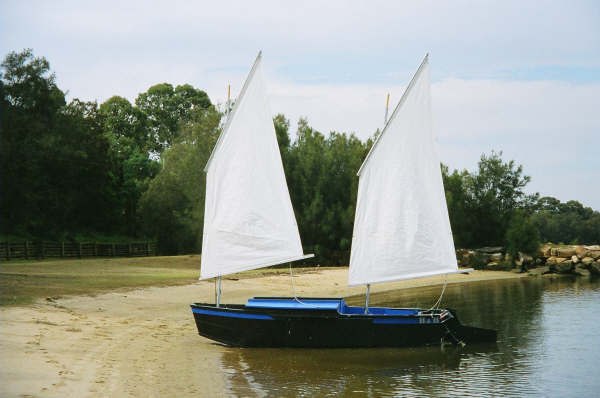
This is Ted Arkey's Jukebox2 down in Sydney. Shown with the "ketchooner" rig, featuring his own polytarp sails, that is shown on the plans. Should have a sailing report soon.
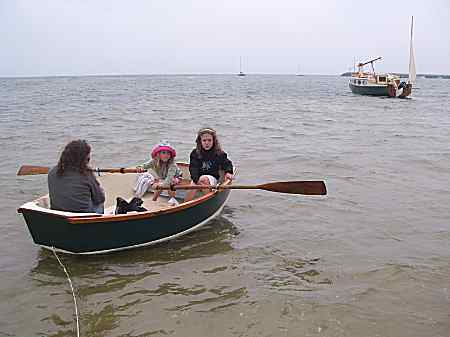
And the Vole in New York is Garth Batista's of www.breakawaybooks.com, printer of my book and Max's book and many other fine sports books. Boat is done, shown here off Cape Cod with mothership Cormorant in background, Garth's girls are one year older. Beautiful job! I think Garth is using a small lug rig for sail, not the sharpie sprit sail shown on the plans, so I will continue to carry the design as a prototype boat.
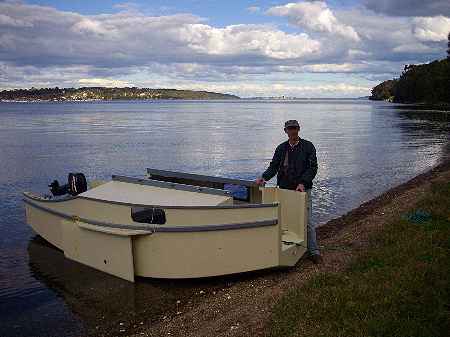
And a new Down Under Blobster is off cruising under outboard power as it waits for its sailrig.
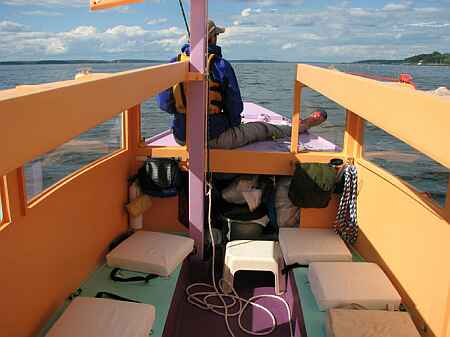
A view of the Caroline prototype showing a lot of the inside, crew on fore deck. Beautiful color:
And here is another making I think its maider voyage in the Texas 200. (I'm told the Chinese rig will be replaced by the blueprint rig.)
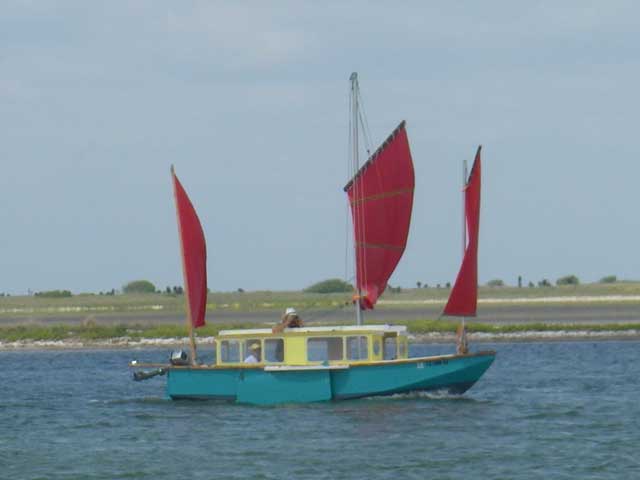
I gotta tell you that on the Caroline bilge panels I made an error in layout and they are about 1" too narrow in places on the prototype plans. I have them corrected but it always pays, even with a proven design, to cut those oversized and check for fit before final cutting.
And a Deansbox seen in Texas:
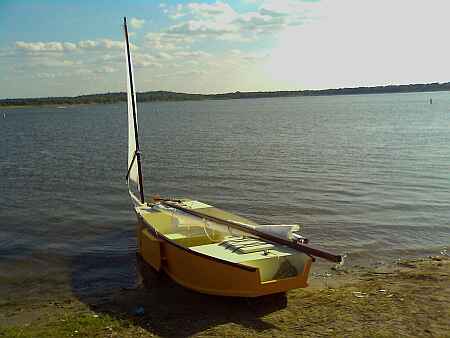
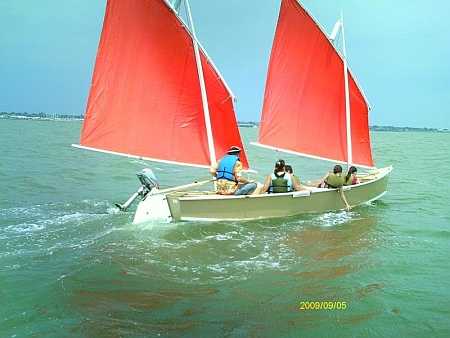
And in Texas Gordo Barcom has completed the first Laguna and I hope to give a full report soon. Here he blasts along on his first flight:
AN INDEX OF PAST ISSUES
Hullforms Download (archived copy)
Plyboats Demo Download (archived copy)
Brokeboats (archived copy)
Brian builds Roar2 (archived copy)
Herb builds AF3 (archived copy)
Herb builds RB42 (archived copy)