Contents
ROWBOAT SETUP
I've been showing photos of Max Wawzyniak's Oracle prototype for the
past few month. The project was done a while back but we were frozen in
until about the first week of March. Then it all burst out then and we
had a day in the 70'sF and it was time to launch. That particular day
the wind was gusting to 30 and no testing was going to get done but it
was a good day to take photos and also to set the boat up in the way I
like to see it done.
We went to Washington County lake here in Illinois which is about a
mile long and with many arms, steep hills around and a shallow launch
ramp in a protected area. A very nice rowing lake.

The first thing I must say to those who are finishing a new rowing boat
is to not install the rowlocks in the shop! I usually show a rowlock
location on the drawing but that is just my best guess at the time I
drew the boat. If you have a little patience you can get it just right
the first time by following this essay.
Max unloaded his new Oracle and showed me his gear. He had made a low
rowing seat, 3-1/2" high, and had some nice 8' oars. The seat looks low
but you will usually have a cushion on top and this is a low sided
boat. This seat turned out to be just right for Oracle.

Next the boat was placed in the water tied loosely to the dock. Max
climbed in and we looked for the seating position that would provided a
level boat.
Here he is too far forward and you can see that the bow is down and the
stern is up. I might add that it really takes two people to get this
just right - one to be the skipper, and another to watch for the
correct trim since seeing the trim from inside the boat can be
difficult.
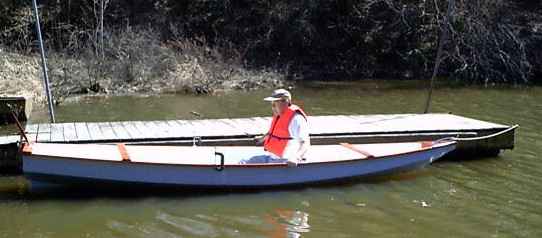
Here he is too far aft. The bow is up and the stern is down:
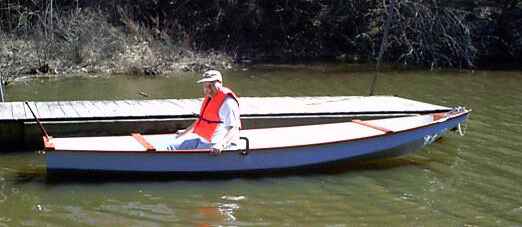
Here he is with his weight located properly for a level boat. At this
time he marked the seat location on the bottom of the boat so he could
easily repeat the location in the future.

Sitting in the properly trimmed boat Max holds the oars comfortably and
notes where they cross the wale.
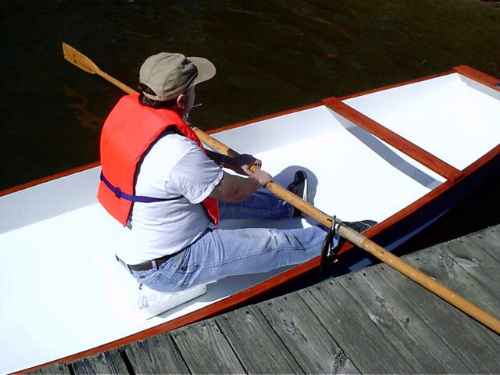
At those points he places a large C clamp in position to simulate the
rowlocks.

Now for a test row using those C clamps as thole pins. If the clamps
are large enough you might pass the oar through the opening or you
might tie the oars to the clamps. In this case Max was just careful to
keep the oars against the clamps.

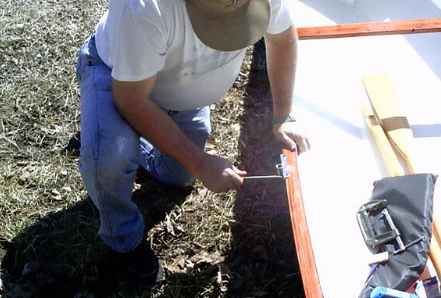
At this point you can shift things around. Once you find the best place
for the oarlocks, note the position and install the lock sockets. In
this case Max used common sockets mounted outside the wale. He screwed
them into position for now, to replace the screws with small bolts in
the future. (Screws have a bad habit of working loose at the worst
time.) Sockets mounted outside the wale instead of inside? They
function a lot better outside with no chafing on the wale but if you
are using the boat as a tender then inside the wale might be better
because there will be no metal to gouge the mothership.
Not quite done yet. A good rowing setup will also have cleats inside
the hull against which you can brace your feet. It's not a big deal in
calm conditions but for rowing hard, and in some conditions all rowing
will be hard, the cleats will make a huge difference in the amount of
force you can deliver to the oar.
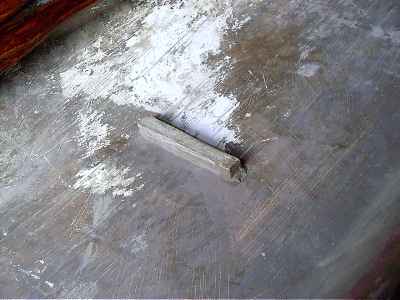
Max didn't install his on his test day but the cleats can be about 3/4"
square and 6" long and mounted in a comfortable position. Many rowing
boats will have several cleats spaced maybe 3" apart to allow for
different sizes of oarsmen. Here is a photo of the cleat in my old
Roar2. It was meant to be a temporary fit and was plopped in place with
a blob of Bondo. Still temporary after 12 years!
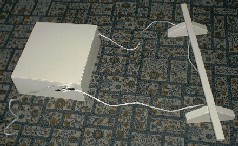
Perhaps just as good as a cleat is the arrangement that Rob Rhode-Szudy
made for his Piccup Pram with a rope loop to the seat that captures a
bracing bar that rests on the floor of the boat:
Contents
TOON2
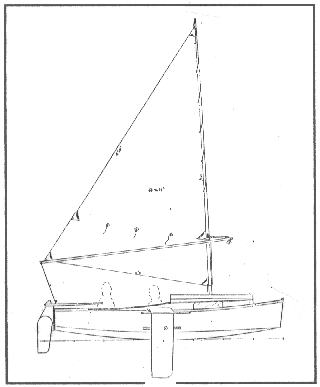
TOON2, CUDDY SAILBOAT, 15' X 5.5', 300 POUNDS EMPTY
Toon2 is in almost every way a multichine version of the AF3. I think
these multichine hulls are more like round bilge hulls in that I keep
the upper chine above any normal waterline so only the very easy
lower chine flows through the water. Other boats shaped this way such
and Piccup Pram and Woobo have proven to be very fast and well
behaved. Yet they still have a flat center bottom plank that allows
you to beach the boat upright.
So one might think that a multichine like this is in every way better
than a real flat bottomed boat, but that is not totally true. For one
thing multichines have a few more pieces to make and must be
assembled with taped seams. Taped seams are light and probably more
rot resistant than chine log construction but they can be a bit
harder to understand at first glance. And someone building a boat
with his children might have second thoughts about the kids messing
around with large pots of epoxy. Also the bottom plank of a
multichine hull is a lot narrower than that of the equal flattie so
floor space is reduced, a real factor if you hope to sleep two on the
cabin floor, which you can't do with Toon2.
Toon2 has about the same layout as AF3 but it is about 12" wider and
I gave it some bench seats. I'm thinking this will be an excellent
solo boat for a short cruise with someone used to tent camping, and
yet be a good day sailer for two or three adults, or maybe two adults
and two kids. This size boat has always been popular and always will
be because it has that sort of capacity and yet can be manhandled by
a solo skipper in almost any condition.
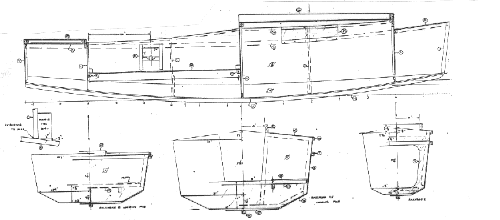
The sail rig is the same 96 square foot sharpie sprit that I used on
Pencilbox and AF3. It started as the main on my old Bolger Jinni from
30 years ago. Very easy to make and use and efficient if you can live
with a 21' mast on a 15' boat.
As I am writing this there are two Toon2s afloat that I know about.
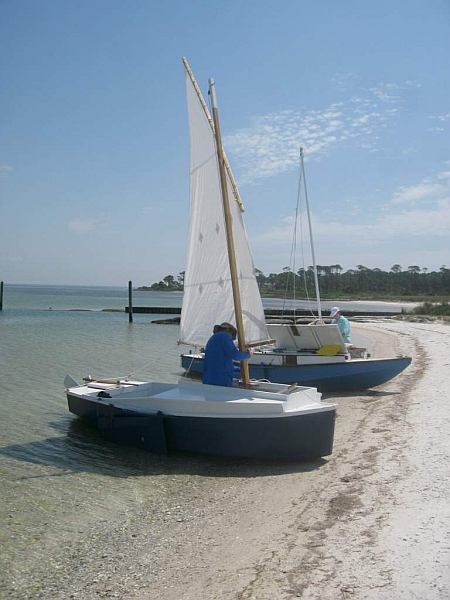
Both were recently launched. This one by John Wolf in Texas..
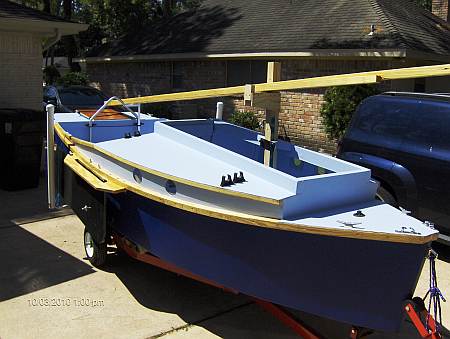
...was made with the blueprint sharpie sprit rig. He says it sails
fine.
And this Toon2 by Tim Gosnell in Florida has a balanced lug sail
adapted from the AF3 lug sail plans...
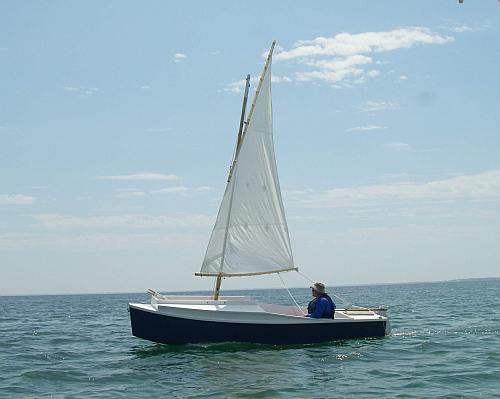
This Toon2 is also said to be a fine sailor. Compared to the stock
sharpie sprit sail I would expect it to sail not so close to the
wind. On the other hand it will certainly be easier to tow and set up
and easier to reef and maybe be as good or better on the other points
of sail. It's all the usual tradeoff. Note that it is not really a
large boat and that the weight of the skipper in the stern affects
the trim quite a bit. So with fine tuning she will be faster and
better all around with the weight more forward. Then again, for
lazing around on a slow day I found with my Piccup Pram that trim was
not that critical and if the skipper lounged comfortably against the
aft bulkhead, it looked bad but it sailed good. On its maiden voyage
Mark's Toon2 was cruising all well with a Frolic2 and a Wooboto.
Toon2 uses taped seam construction with no lofting or ladder building
jig required. She needs seven sheets of 1/4" plywood and two sheets
of 1/2" plywood.
Plans for Toon2 are $40.
Contents
Prototype News
Some of you may know that in addition to the one buck catalog
which now contains 20 "done" boats, I offer another catalog of 20
unbuilt prototypes. The buck catalog has on its last page a list
and brief description of the boats currently in the Catalog of
Prototypes. That catalog also contains some articles that I wrote
for Messing About In Boats and Boatbuilder magazines. The Catalog
of Prototypes costs $3. The both together amount to 50 pages for
$4, an offer you may have seen in Woodenboat ads. Payment must be
in US funds. The banks here won't accept anything else. (I've got
a little stash of foreign currency that I can admire but not
spend.) I'm way too small for credit cards.
I think David Hahn's Out West Picara is the winner of the Picara
race. Shown here on its first sail except there was no wind.
Hopefully more later. (Not sure if a polytarp sail is suitable
for a boat this heavy.
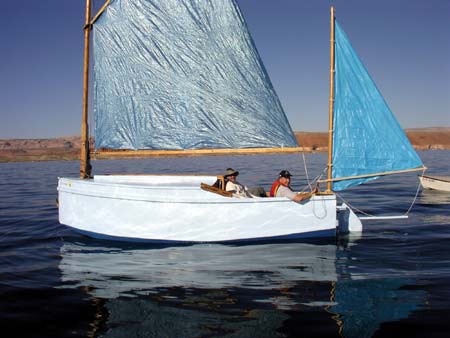
Here is a Musicbox2 out West.

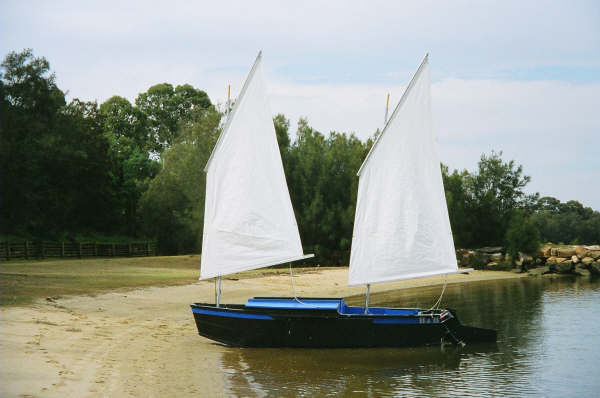
This is Ted Arkey's Jukebox2 down in Sydney. Shown with the
"ketchooner" rig, featuring his own polytarp sails, that is shown
on the plans. Should have a sailing report soon.
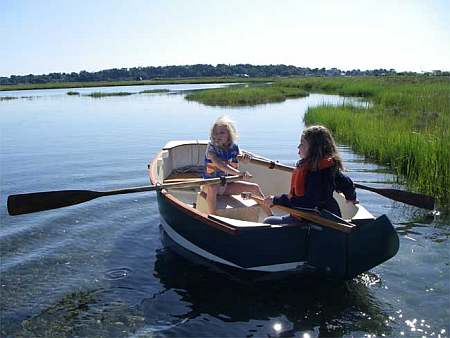
And the Vole in New York is Garth Battista's of
www.breakawaybooks.com, printer of my book and Max's old outboard
book and many other fine sports books. Beautiful job! Garth is
using a small lug rig for sail, not the sharpie sprit sail shown
on the plans, so I will continue to carry the design as a
prototype boat. But he has used it extensively on his Bahamas
trip towed behind his Cormorant. Sort of like having a compact
car towed behind an RV.
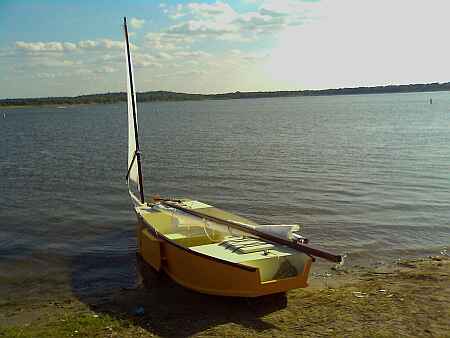
And a Deansbox seen in Texas:
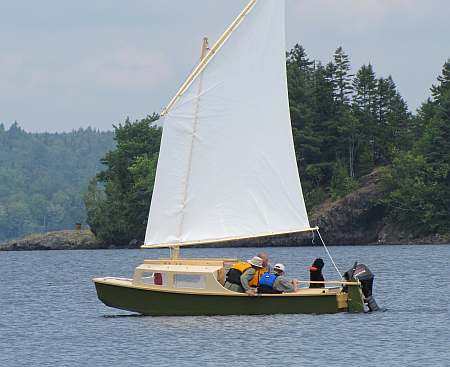
The prototype Twister gets a test sail with three grown men, a
big dog and and big motor with its lower unit down. Hmmmmm.....
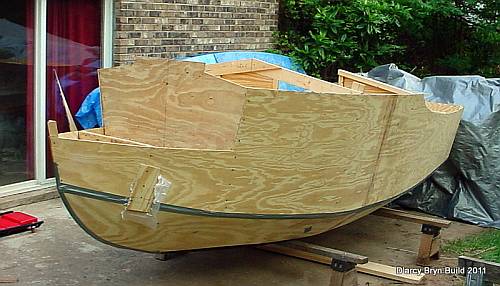
And the first D'arcy Bryn is ready for taping. You can follow the
builder's progress at http://moffitt1.wordpress.com/ ....
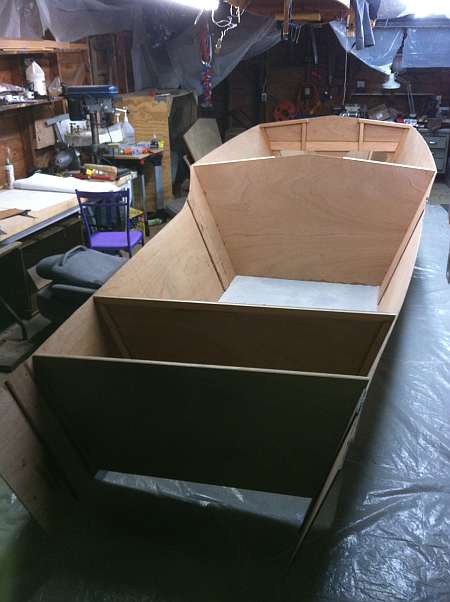
And the first Brucesboat is in the water for testing. A full
report soon.

OK, so he found a major league goof in my plans on fitting the
bilge panels. He did some cut and fit and did a great job of
salvaging the work, but I have corrected the drawing for the aft
end of the bilge panel (I drew it in upside down!!)
And a Hapscut goes together in Texas. He has scarfed some
material on the stern to finish the boat with a built in motor
well like Laguna. Good idea:
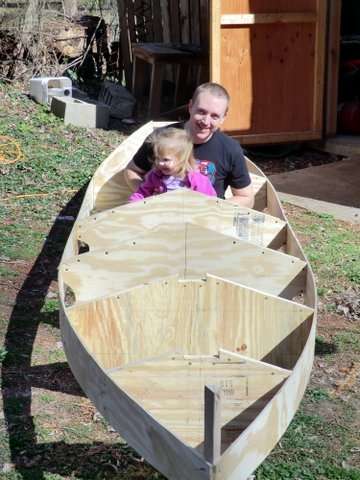
And here is a custom project going together so quickly that I am
going to hold releasing prototype plans, just release "done"
plans in a few weeks. He also already has a crew...
Contents
AN INDEX OF PAST ISSUES
BACK ISSUES LISTED
BY DATE
SOME LINKS
Mother of All Boat
Links
Cheap
Pages
Duckworks
Magazine
The Boatbuilding
Community
Kilburn's Power
Skiff
Bruce Builds
Roar
Dave
Carnell
Rich builds
AF2
JB Builds
AF4
JB Builds
Sportdory
Hullforms Download (archived copy)
Puddle Duck
Website
Brian builds Roar2 (archived copy)
Herb builds AF3 (archived copy)
Herb builds RB42 (archived copy)
Barry Builds
Toto
Table of
Contents
