DRAWING BOATS 7
Now back to Bobsboat. We have drawn the lines, measured displacement,
and determined the true shape of all the plywood elements. Now we are
going to make a card model of the project. Might seem old fashioned but
there are several good reasons for doing so. One is to make sure all
the parts fit. Second is to get a good look at it and see it appears in
real life as we thought it might. Also we will get a first hand
impression of its structural qualities.
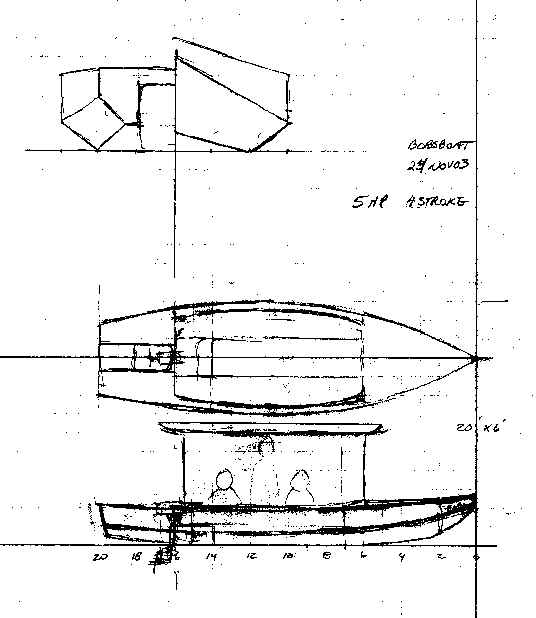
First thing to do is to draw all of the panels in scale. The bulkheads
and transom and forms will already be done in the three view drawing.
The bottom, side, and bilge panels that we expanded with the computer
must be drawn out in scale (1/12 scale in the Bobsboat example). Here
is how I do that: I draw them to scale on the old type of fan fold
computer paper. That way I can get a really long white paper with
accurate edges to use as reference lines. I draw them as accurately as
possible with no thought to things like butt locations or dimensioning
problems. Later these shapes will be transfered to the working drawings
that will go to the builder but right now we aren't going to worry
about that.
Next the scale panel drawings are placed over card stock and the shapes
transfered to the card with pin marks right through the paper to the
card. The pin marks are then connected on the card to reproduce the
shape. Errors can creep in here pretty quickly but remember the
original shape drawings are not changed. In this example I used heavy
card stock that came in packages of blueprint paper but one of my
favorite materials for a model is the thinner white card used for
posters and such that I find at the drug store. After I get the shapes
onto the card, I cut them out like this:
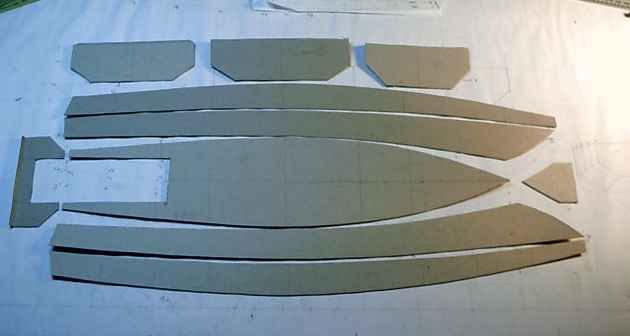
As with the real boat you need to mark the parts with centerlines and
the locations of bulkheads and forms. This is just like building the
real thing at this stage. You can get a quick check of your expansions
by looking to see if joining edges all have the same lengths. Because
of the scale and all the transfering of lines the model won't be as
accurate as the real thing.
The assembly is not like building the real thing. On the real thing I
would screw the sides to the center form and install the other
bulkheads and forms by pulling the ends in with ropes and adding the
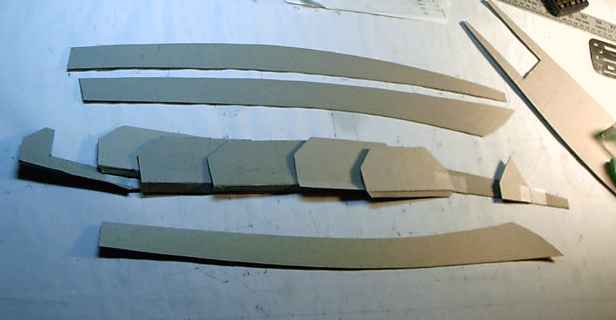
elements one at a time. With a card model I tape all of the cross
elements to one side at first, like this:
Then working from the stern I tape the cross elements to the other side
and by the time I get to the bow I have the makings of a boat. Like
this:
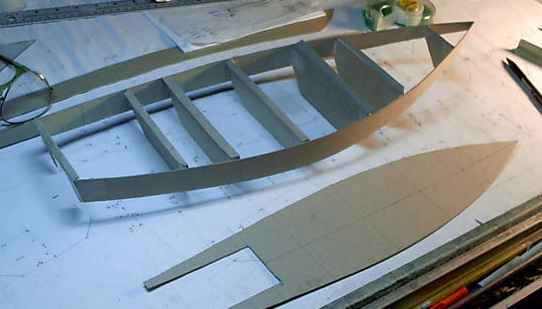
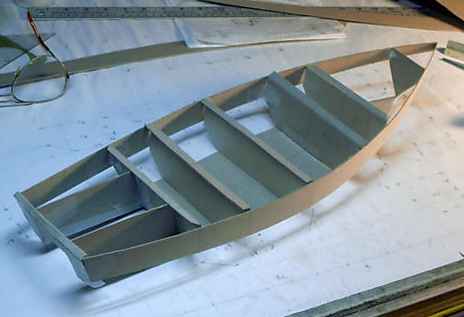
It will still be wobbly but taping the bottom to the cross elements
will stiffen it up a lot, as it will with the real boat. I also added
the panels that will form the walls of the motor well (by the way when
I measured up my motors I found it takes a well 2' wide to allow the
motor to turn fully.)
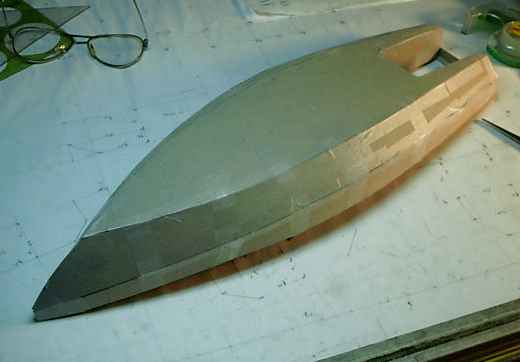
Now we will tape in the bilges. Usually the hardest part of the job, as
it is with a real boat. I start by taping it in the middle of the boat,
then work out to the ends. Takes a bit of time. If there is an error in
the shapes you will notice it here. I thought the Bobsboat bilges fit
pretty well and think the expansions are correct:
Next flip it rightside up and install some seats:
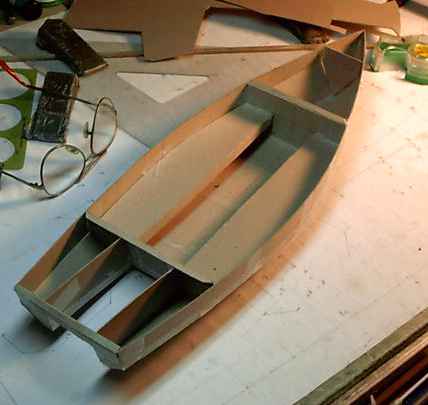
And then some decks:
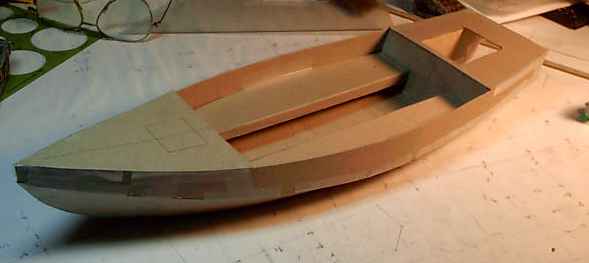
Looks like a Bobsboat to me! Sometimes at this stage you will see
things that you might want to change. I have been doing this for about
15 years now and one thing to watch out for is the proportions. Hard to
see that as well in a computer rendering. In particular I have found
the fore deck needs to be longer than you might first draw in a three
view. I have this theory that your eye can quickly gauge the volumes
under the fore deck and the stern deck and wants them to be equal for
some reason. In a boat with a square stern and a pointy bow, that bow
deck will look better if it is longer that you might first suspect.
Anyway, I see no need to alter the Bobsboat. That stern well is looking
quite large but right now I see no other way to do it. If you make it
narrower you can't swivel the motor fully. If you decide to plate in
the bottom opening leaving just a small hole for the motor you won't be
able to raise the motor up without resorting to a lot of claptrap. As
speaking of traps, if the water gets trapped there while the boat is in
motion, the water level in the well can raise alarmingly, maybe right
over the bulkhead into the boat depending on the speed and waves. How
high can it go? On Birdwatcher water will spurt out of the top of the
centerboard well at most any good boating speed and in a chop it will
shoot right out the top of the boat! Imagine sitting next to a washing
machine running with its lid open and you get the idea. So with
Bobsboat I'm keeping it wide open on the bottom and stern to let the
water flow through and out. I hope.
At this point it is a good idea to look for "soft spots" in the
structure. Not sure but with Bobsboat a partial frame in the center of
the cockpit might help stiffen the bottom up, always a problem with a
long open cockpit. But if you are clumsy you will trip over it several
times a day so a valid approach, especially with a prototype, might be
to build the boat without with the idea of adding it if bottom flex is
troublesome to you.
Finally, take your model and try to twist it. If it twists easily so
will the real thing and that ain't good. This is a problem mostly with
square ended open boats like jonboats. Best solution is to box in the
ends with decks as done here.
When we return to Bobsboat I think we'll take a try at predetermining
the bevels of the bulkheads, etc.
Contents
Roar2
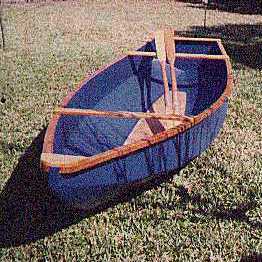
ROAR2, ROWBOAT, 14' X 42", 75 POUNDS EMPTY
Roar2 is a modification of the original Roar which had a plumb stem.
After I had designed, built, and paddled Toto with its V entry bow I
went back and cut the lower plumb bow off my Roar and converted it to
a Toto-like bow. So Roar2 has a deep V entry which is carried well
aft. About two feet of the sharp bow is immersed and provides a skeg
action forward. As a result Roar2 behaves well in all aspects of wind
and waves and is more capable in rough going.

The new shape makes a different sound - a "swish, gurgle" as it
cleaves the water, where the original Roar has a "tap, tap" sound
typical of boats that go over the water instead of through it. I
suspect the original shape is slightly faster in smooth water but the
new bow has the edge everywhere else. She'll row at 4-1/2 mph with
medium effort using the 7 foot oars detailed in the plans. Adding a
passenger to either version will hardly slow her, although
acceleration and deceleration are affected.
Walter Kahlhammer built a clipper version of Roar2 without the
bracing shown across the wales and reports his boat was still rigid.
But the aft cross brace is almost mandatory for use as a passenger's
back rest. Without it the passenger will soon tire and lean to one
side or slide aft to rest against the transom, throwing off the trim
in a way that will drive the oarsman crazy. (Walter uses a removable
passenger seat.)
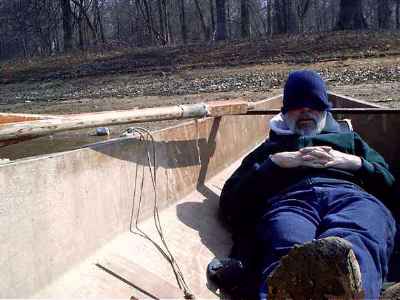
These are excellent camping boats, light enough to solo cartop, large
enough for much gear and with a flat bottom plank long enough to
sleep on while the whole rig sits upright. Kevin Garber took a Roar2
on a three day row of the Big Bend region of the Rio Grand, seeing no
humans from put-in to take-out. He brought a folding chair, a
barbacue, and a tent fly with poles. In camp he set up the fly over
the hull and slept in the boat. Here is a photo of me in my old
prototype (still use it) demonstrating proper nap position:
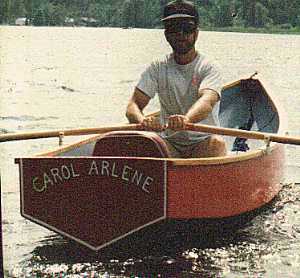
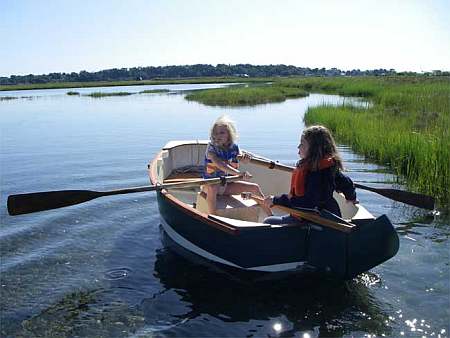
I have found some more photos builders have sent. I'm sure I've
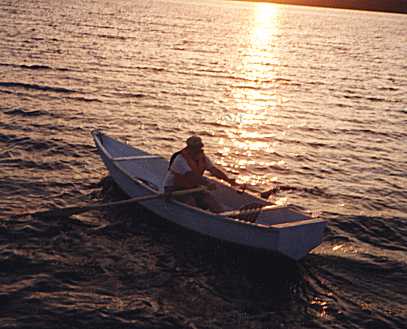
forgotten where I've stored others. Here is Charlie Ballou rowing off
into the Massachusetts sunset:
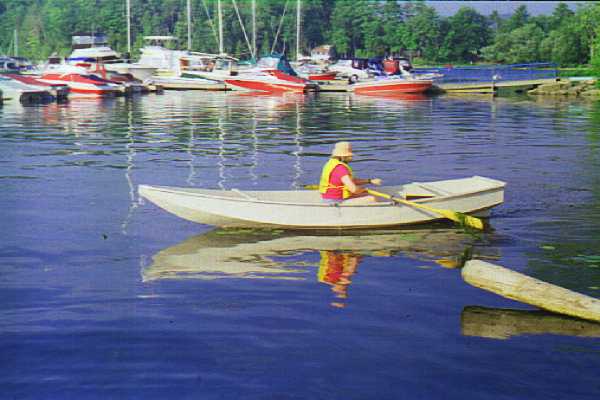
Here is Greg Rinaca in Texas:

I think this is Lincoln Ross but I'm not sure:
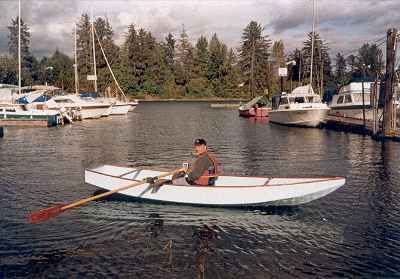
And Brian Walker in Canada:
Plans for Roar2 are $15. Taped seam construction from four sheets of
1/4" plywood. No lofting or building jigs.
Contents
Prototype News
Some of you may know that in addition to the one buck catalog
which now contains 20 "done" boats, I offer another catalog of 20
unbuilt prototypes. The buck catalog has on its last page a list
and brief description of the boats currently in the Catalog of
Prototypes. That catalog also contains some articles that I wrote
for Messing About In Boats and Boatbuilder magazines. The Catalog
of Prototypes costs $3. The both together amount to 50 pages for
$4, an offer you may have seen in Woodenboat ads. Payment must be
in US funds. The banks here won't accept anything else. (I've got
a little stash of foreign currency that I can admire but not
spend.) I'm way too small for credit cards.
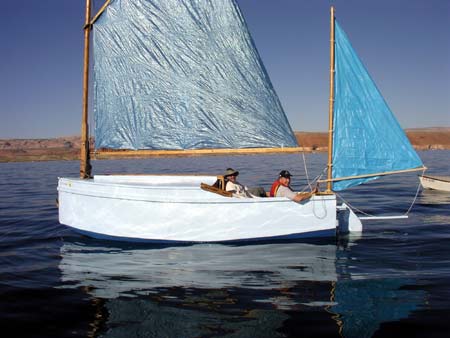
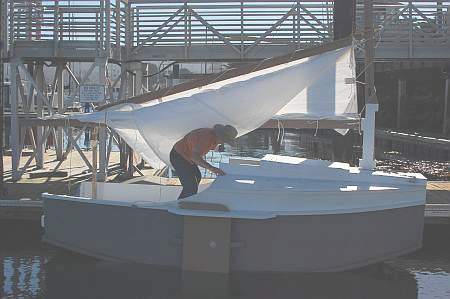
I think David Hahn's Out West Picara is the winner of the Picara
race. Shown here on its first sail except there was no wind.
Hopefully more later. (Not sure if a polytarp sail is suitable
for a boat this heavy.
Here is a Musicbox2 out West.
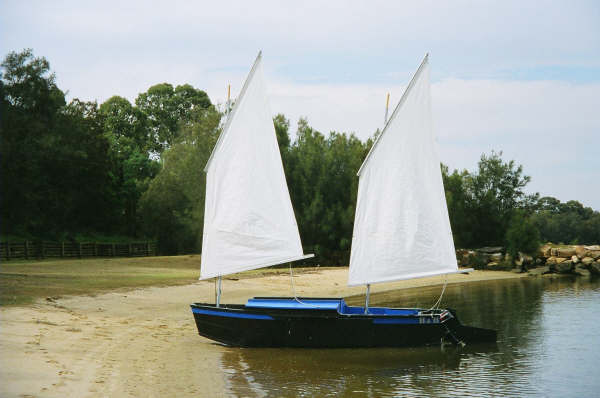
This is Ted Arkey's Jukebox2 down in Sydney. Shown with the
"ketchooner" rig, featuring his own polytarp sails, that is shown
on the plans. Should have a sailing report soon.
And the Vole in New York is Garth Battista's of
www.breakawaybooks.com, printer of my book and Max's old outboard
book and many other fine sports books. Beautiful job! Garth is
using a small lug rig for sail, not the sharpie sprit sail shown
on the plans, so I will continue to carry the design as a
prototype boat. But he has used it extensively on his Bahamas
trip towed behind his Cormorant. Sort of like having a compact
car towed behind an RV.
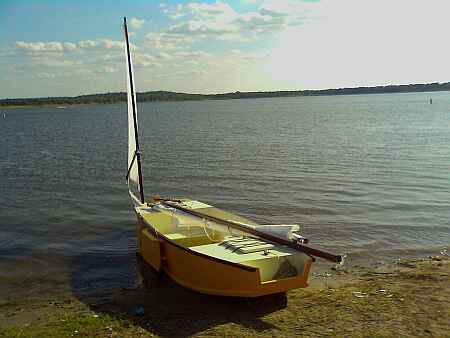
And a Deansbox seen in Texas:
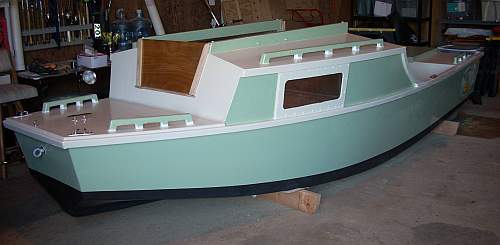
Another prototype Twister is well along:
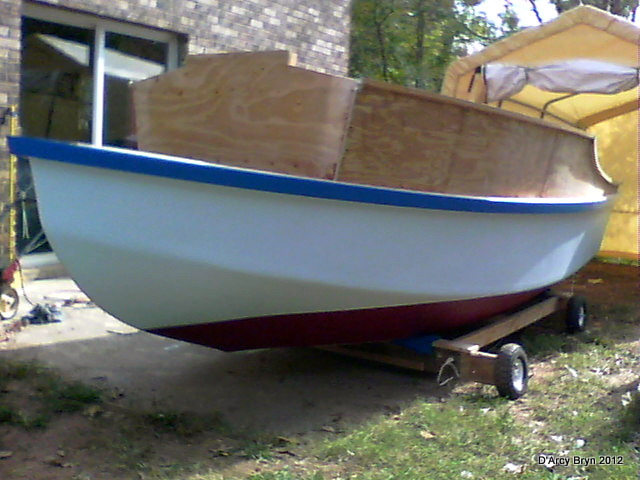
And the first D'arcy Bryn is taped and bottom painted. You can
follow the builder's progress at http://moffitt1.wordpress.com/
....
Contents
AN INDEX OF PAST ISSUES
A NOTE ABOUT THE OLD WAY BACK ISSUES
(BACK TO 1997!). SOMEONE MORE CAREFUL THAN I HAS SAVED
THEM. TRY CLICKING ON...
http://web.archive.org/web/20050308025339/http://marina.fortunecity.com/breakwater/274/michalak/alphabetical.htm
which should give you a saving of the
original Chuck Leinweber archives from 1997 through 2004.
They seem to be about 90 percent complete.
BACK ISSUES LISTED BY DATE
SOME LINKS
Mother of All Boat
Links
Cheap
Pages
Duckworks
Magazine
The Boatbuilding
Community
Kilburn's Power
Skiff
Bruce Builds
Roar
Dave
Carnell
Rich builds AF2
JB Builds
AF4
JB Builds
Sportdory
Hullforms Download (archived copy)
Puddle Duck
Website
Brian builds Roar2 (archived copy)
Herb builds AF3 (archived copy)
Herb builds RB42 (archived copy)
Barry Builds
Toto
Table of
Contents
